In the case of a difficult to repair, or hard to diagnose issue with a Z Grills 700 series pellet smoker a complete hopper assembly may be provided.
Follow the step by step instructions below to change over the existing hopper assembly with new one.
For Grill Models: 7002B, 700E, 700E-XL
Time: 10-15 minutes
Difficulty: Easy
Spare Parts (from Z Grills):
- Hopper Assembly
- Temperature sensor (if required)
Tools Required:
- Spanner or socket set
Step 1. Unplug from power
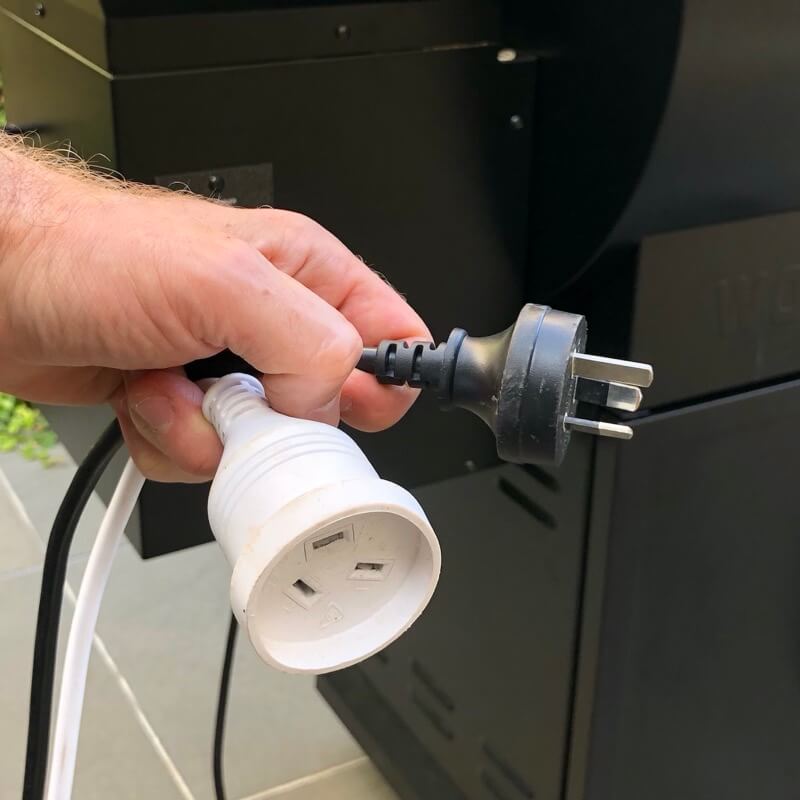
Unplug the grill from power.
Step 2. Loosen bolts
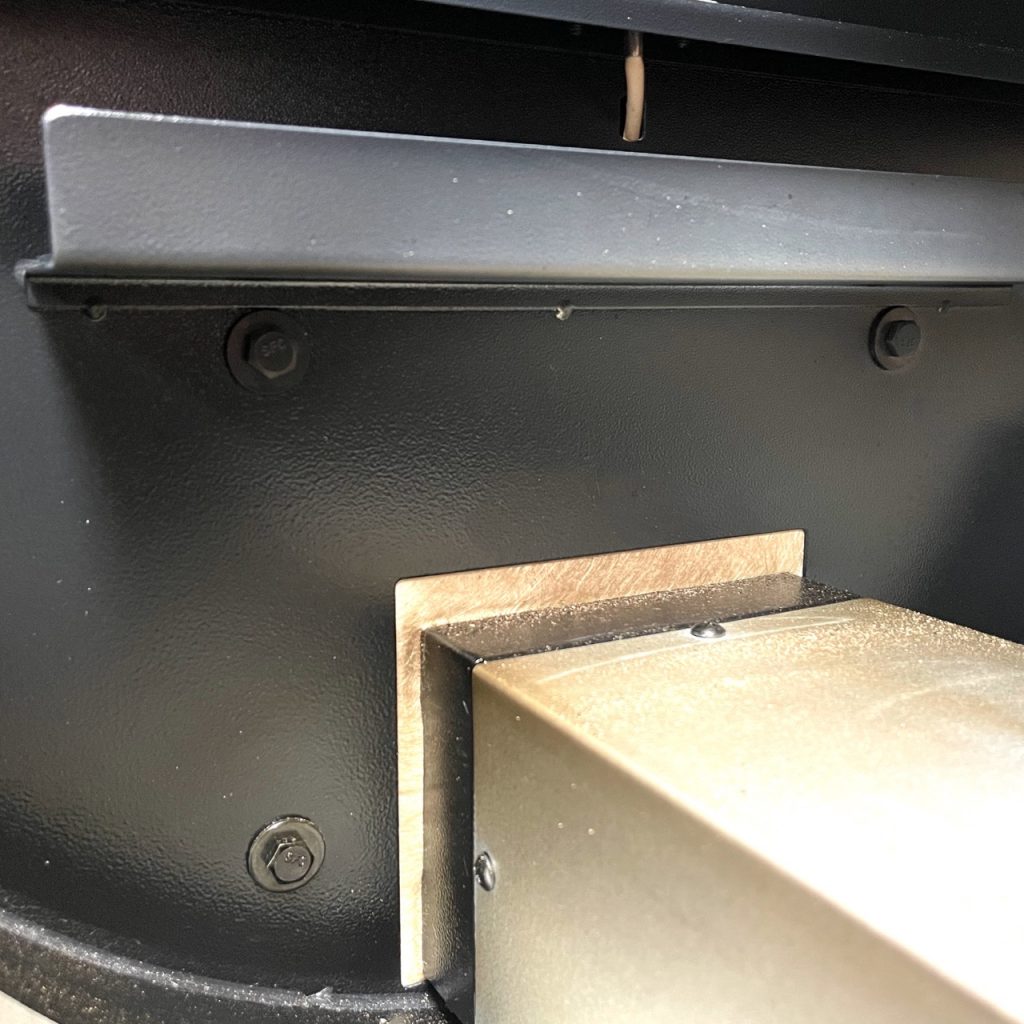
Loosen the 4 bolts that secure the hopper assembly to the drum.
These bolts may be quite tight, so a full size ring spanner, open end spanner or socket wrench may be required instead of using the small spanner supplied with the grill.
Support the hopper while completely removing the bolts.
Step 3. Unplug cable
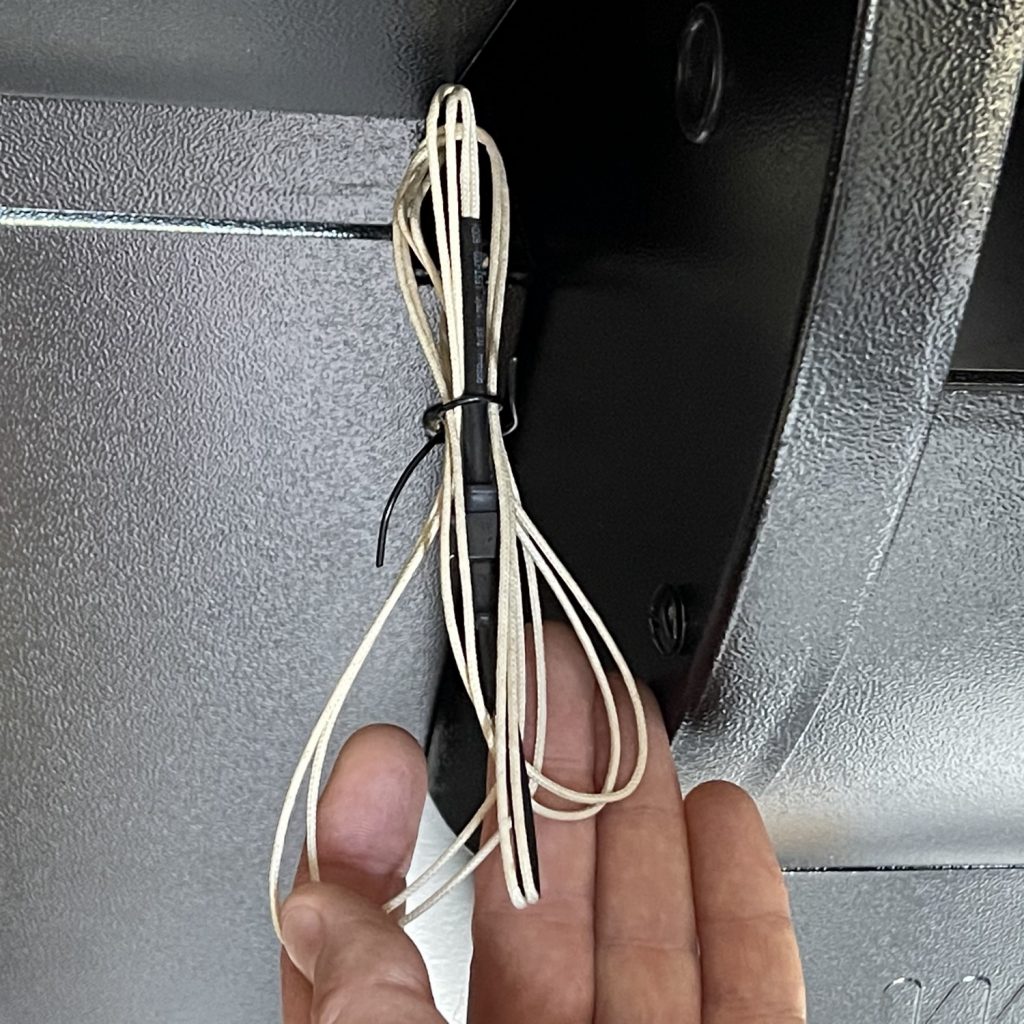
Unplug the temperature sensor cable (black plug) to be able to fully remove the hopper assembly from the grill.
Step 4. Switch over hopper top

Remove the 4 small screws with nuts on inside of the hopper to remove the top section of the hopper (and lid).
Switch the hopper top over onto the new hopper assembly before installing into the grill drum.
Step 5. Install new hopper assembly
Reverse the above process to install the new hopper assembly into the grill drum.
For 700E-XL grills, also switch over the hopper end handle.
Wireless Controller?
If your new hopper has a wireless controller and you are not familiar with the operation, please click here to learn more.
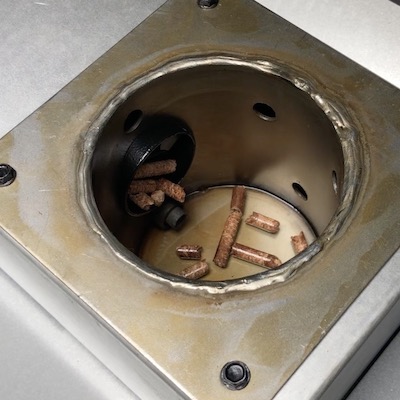
Step 6. Quick burn-in
If the fire-pot is clean and oily it has never been used, so let the fire burn (any temp setting is ok) for at least 10-15minutes before placing food in the grill.
A full high temperature burn-in is not required.
If the fire-pot has a light layer of rust (normal after a couple of uses), then no burn-in is required. Just start the grill and use a normal.
Wireless Controller?
If the hopper is fitting with a wireless controller, remember to use the FEED PELLET function (in the MENU) to fill the feed tube with wood pellets before FIRING UP.
Step 7. Pack and Post
If we have provided you with a return Australia Post label, this means we would like your old hopper to be returned to us. Please follow these steps:
Vaccuum Out
- Empty out all the pellets in the hopper
- Vacuum out the hopper and the firepot
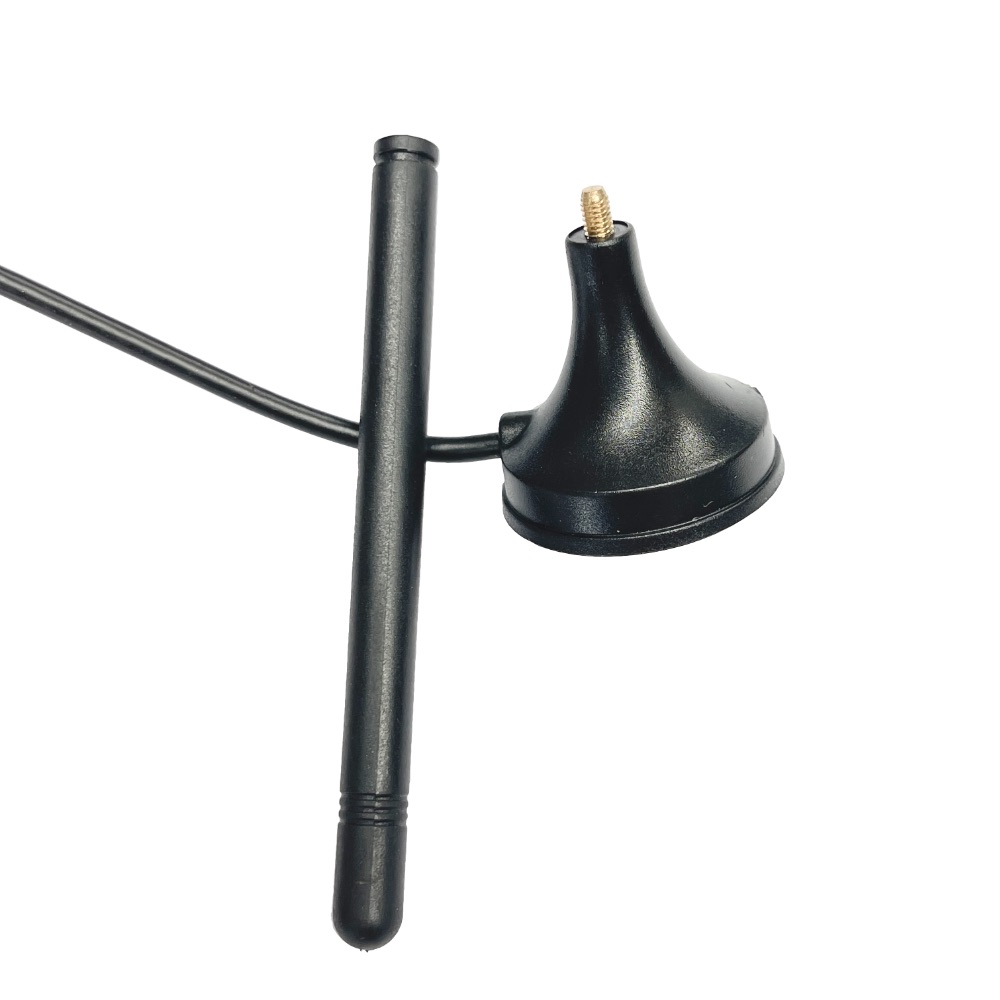
Remove Antenna Shaft (Wireless controllers)
During transport the antenna is very easily broken off, so please unscrew from the magnetic base and place down inside the hopper or even better in some bubble wrap so it isn’t damaged.
Bundle Power Cable and Antenna
Bundle the power cable and antenna under the hopper and gently place back into the box, taking note of any notches in the foam for the controller knob.
Repack and Tape Up
Please repack carefully so it won’t be damaged on the return trip.
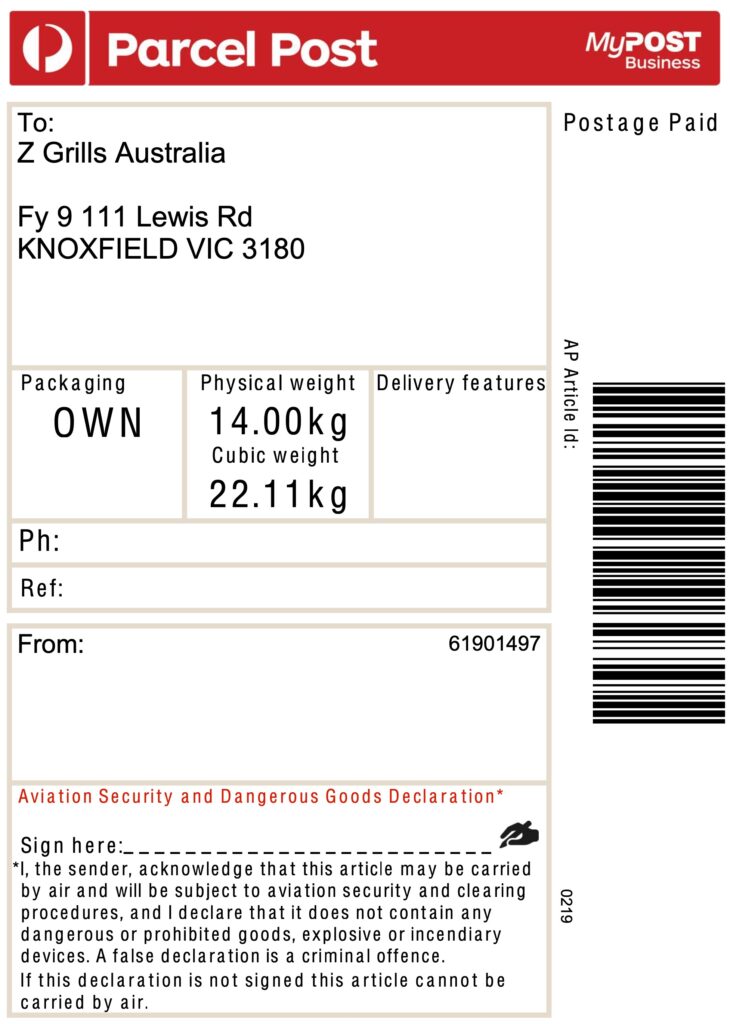
Affix Australia Post Label
Tape up the box and affix the supplied Australia Post return label to the box. If possible, please cover the label with packing tape so it isn’t damaged, or ask the post office to do so for you.
Take the box to the local Australia Post. No charge is required!
Thanks for you help!