The initial burn-in or “seasoning” is required before cooking on the grill to burn off any manufacturing oils on the grease tray and heat baffle.
For the 700-XL Wireless model please click here.
Watch the video or step by step instructions below.
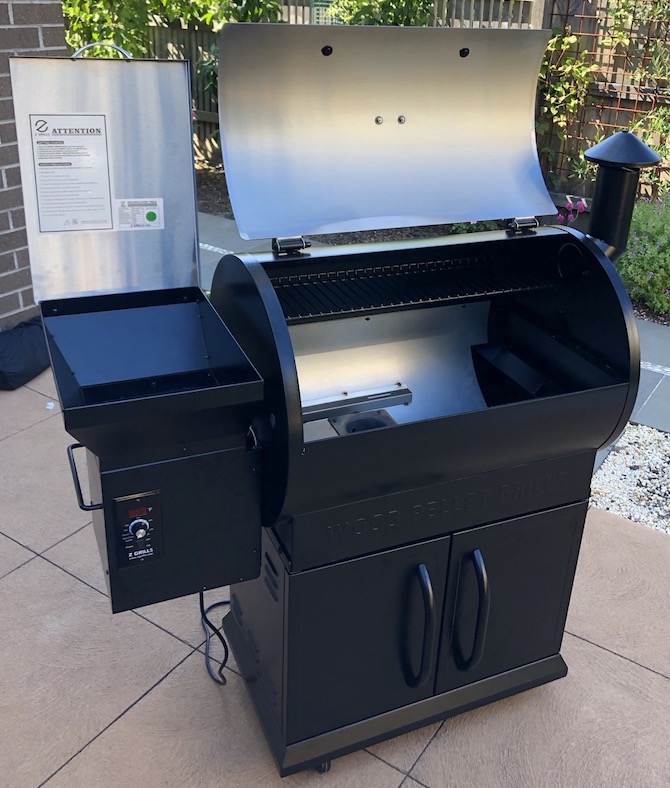
1. Everything Out
Open the hopper and grill lids.
Remove the grill racks, grease tray and baffle plate that sits over the fire-pot.
2. Turn ON
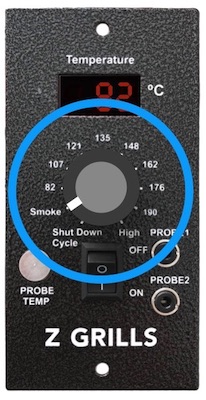
Turn controller dial to Smoke. Listen for the fan to start up.
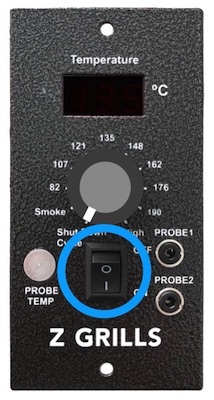
3. Turn to SMOKE
Turn controller dial to Smoke.
4. Check Operation
Listen for the fan to start up which will run continually as long as the grill is operating.
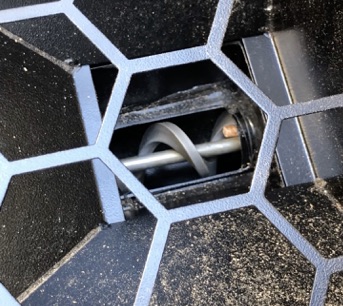
Check to confirm that the auger is rotating – which it does very very very slowly, only 1.6 RPM.
A “whirring” sound can be heard when the auger motor is on. It will only rotate for a few seconds when first turned from Shut Down to Smoke, and then again after about 30-40 seconds.
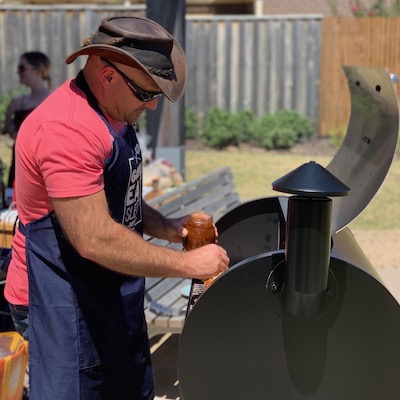
5. Add Wood Pellets
Pour enough wood pellets into the hopper to reach the safety grate. You don’t need to fill the hopper up. About 2kg is sufficient for this first burn-in.
Shut the hopper lid, keep the grill lid open.
Only add lots of pellets if doing a long cook. Always store the wood pellets in a closed bag or sealed bucket to avoid them getting moist.

6. Turn to High
Turn controller dial to High which will run the auger for longer to feed the wood pellets from the hopper through the auger tube into the fire-pot more quickly.
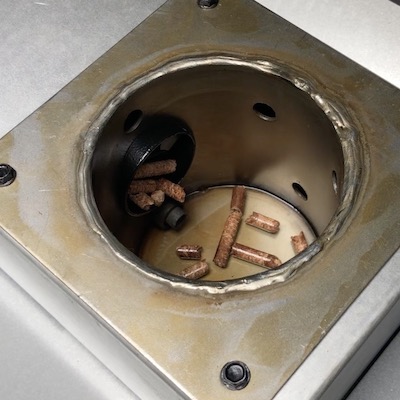
7. Pellets Dropping
About 7-8 minutes after adding the wood pellets into the hopper they will begin to drop into the fire-pot. As soon as this happens proceed to the next step.
If the controller shows LEr (Low Temp Error), don’t worry, just turn to Shut Down Cycle and back to Smoke and soon the pellets will drop and fire up.
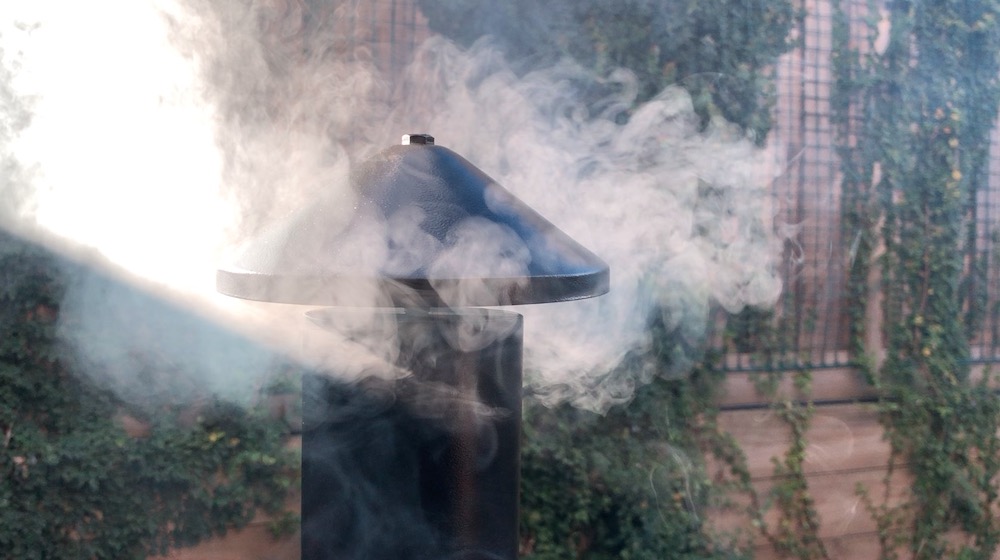
8. Fire Up
Turn the controller to Shut Down and immediately to Smoke to start the ignition rod up again.
After 3-5 minutes you should have lots of smoke and then a roaring fire!
Awesome job, your Z Grill is alive and ready to burn-in.
Place the baffle plate over the fire-pot, grease tray in (no foil), and grill racks back in place and close the grill lid.
9. Burning In
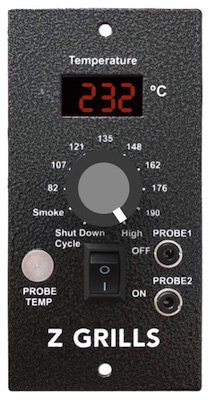
Turn the controller to High (232ºC) to run the grill at the maximum temperature to burn off any oil from the manufacturing process.
The smoke released won’t smell too great (as burning some oil), so don’t do it close to an open window. The smell will disappear after about 15-20 minutes.
It is normal for the grill to first rise up to as high as 260ºC before dropping back down to settle at around 232ºC.
Australian hardwood pellets have a lot more heat per kg than oak/fruit blends, so will reach target temperature faster and may exceed the target more before settling back down around the setting.
10. Cool Down
After 45min from starting up the grill (no more oily smoke is visible), turn the knob to the Smoke setting on the controller and let run for another 10-15 minutes to let the fire die down.
After 10-15 minutes, turn the knob on the controller to Shut Down. Leave the power switched ON.
During the Shut Down process the fan will continue to run for 10 minutes to ensure all the pellets are burnt out, before it automatically turns off.
Once the grill has turned itself off, switch the power off and unplug the power cable or start your first cook!
11. Time to Cook!
Once the grill has turned itself off, open the grill lid, remove the grill racks and give them a wipe down with a moist cloth.
Click here to learn how to start the grill up for normal cooking and also important operating tips.