This article covers how to replace the grill temperature sensor in a Z Grills 700 series pellet smoker.
For Grill Models: 7002B, 700E, 700E-XL
Time: 5 – 10 minutes
Difficulty: Easy
Spare Parts (from Z Grills): Grill Temperature Sensor
Tools Required: Phillips head screwdriver
What is the grill temperature sensor?
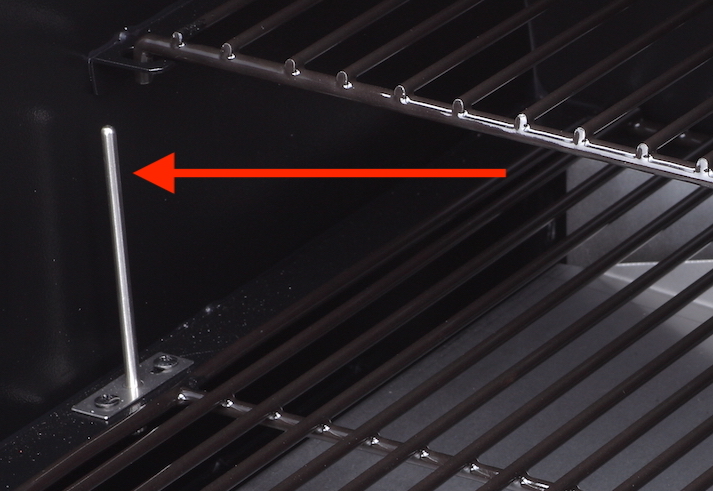
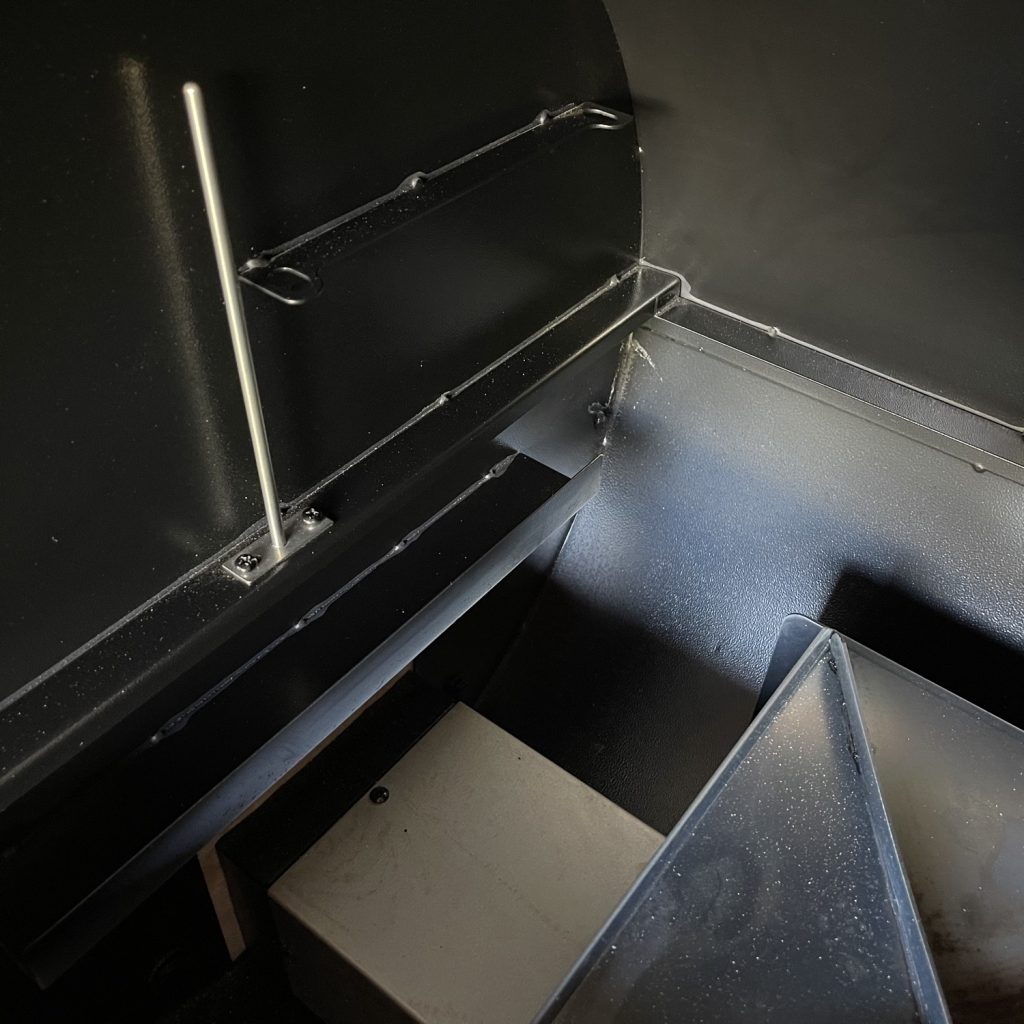
The grill temperature sensor is located on the inside left of the grill and measures the temperature inside the grill. Based on this reading the controller modulates the fan speed (air flow into the fire-pot) and auger motor operation (delivery of wood pellets) to reach and maintain the target temperature.
The sensor only measures temperature in the tip of the vertical metal probe. When sliding in and out the grill rack and grease tray be careful not to knock the probe as it can be damaged.
Identifying a faulty temperature sensor
The following may indicate a faulty temperature sensor:
- HEr (high temperature) errors occurring when the grill is NOT at very high temperatures.
- Temperature readings that are significantly higher or lower than the actual measured temperature inside the grill area.
- Temperature changing moving more than 1-2 deg at a time.
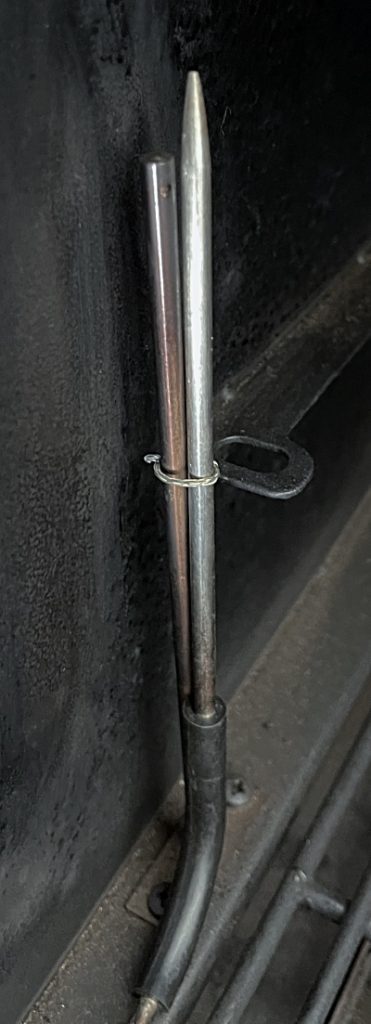
A good way to check if the temperature sensor is getting an accurate reading is to position one of the food temperature probes alongside the temperature sensor with the tips at the same level. With the grill running at 80 to 120ºC and the lid closed, compare the temperature reading on the controller display (grill temperature) with the P1 or P2 food probe temperatures. These should be within 10ºC of each other.
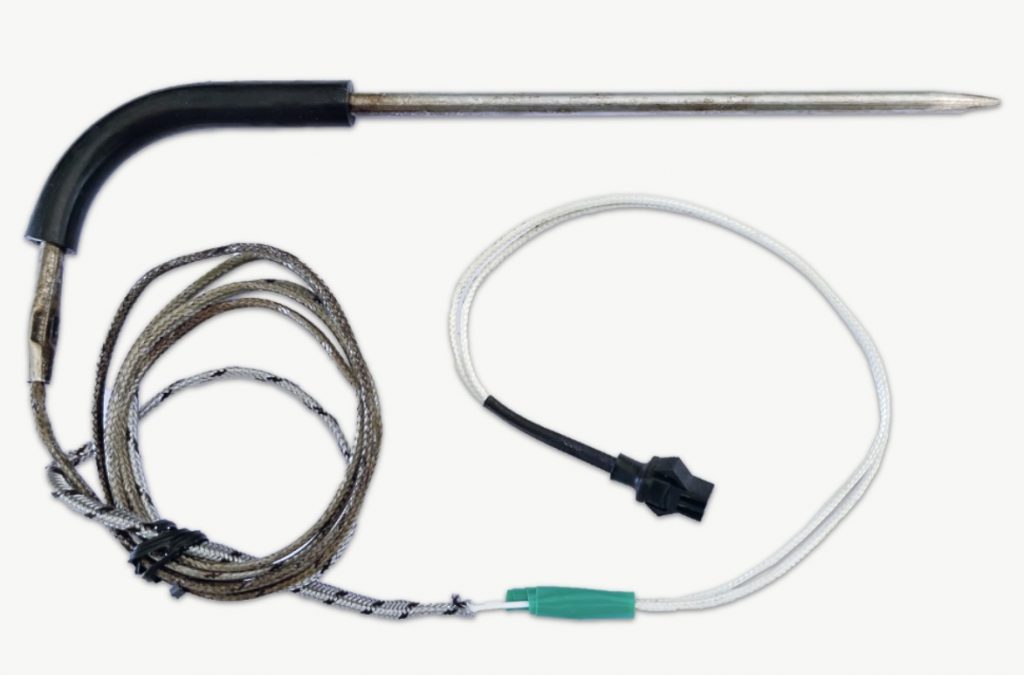
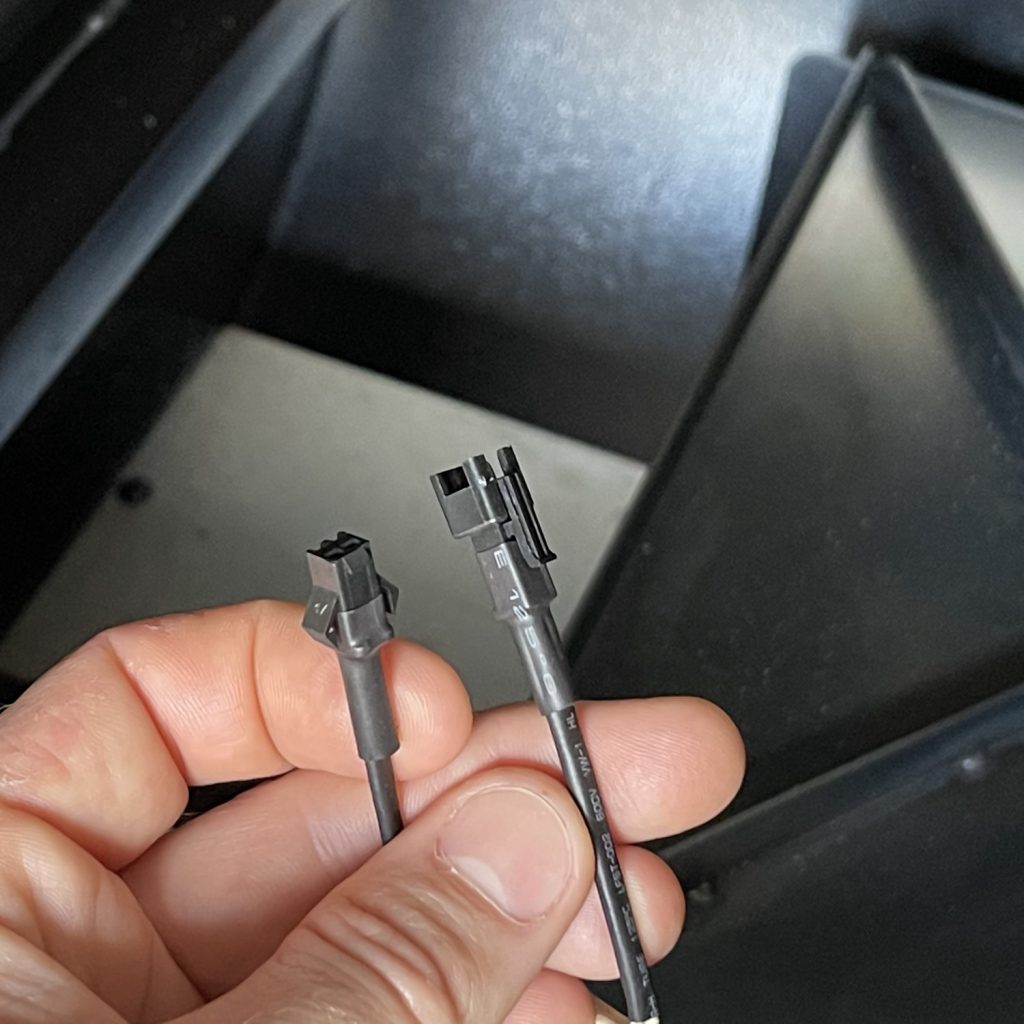
700 series and newer 450A grills have a plug in the temperature sensor cable which makes replacement very fast and easy. Older 450A models need the new temperature sensor to be fed through to the controller.
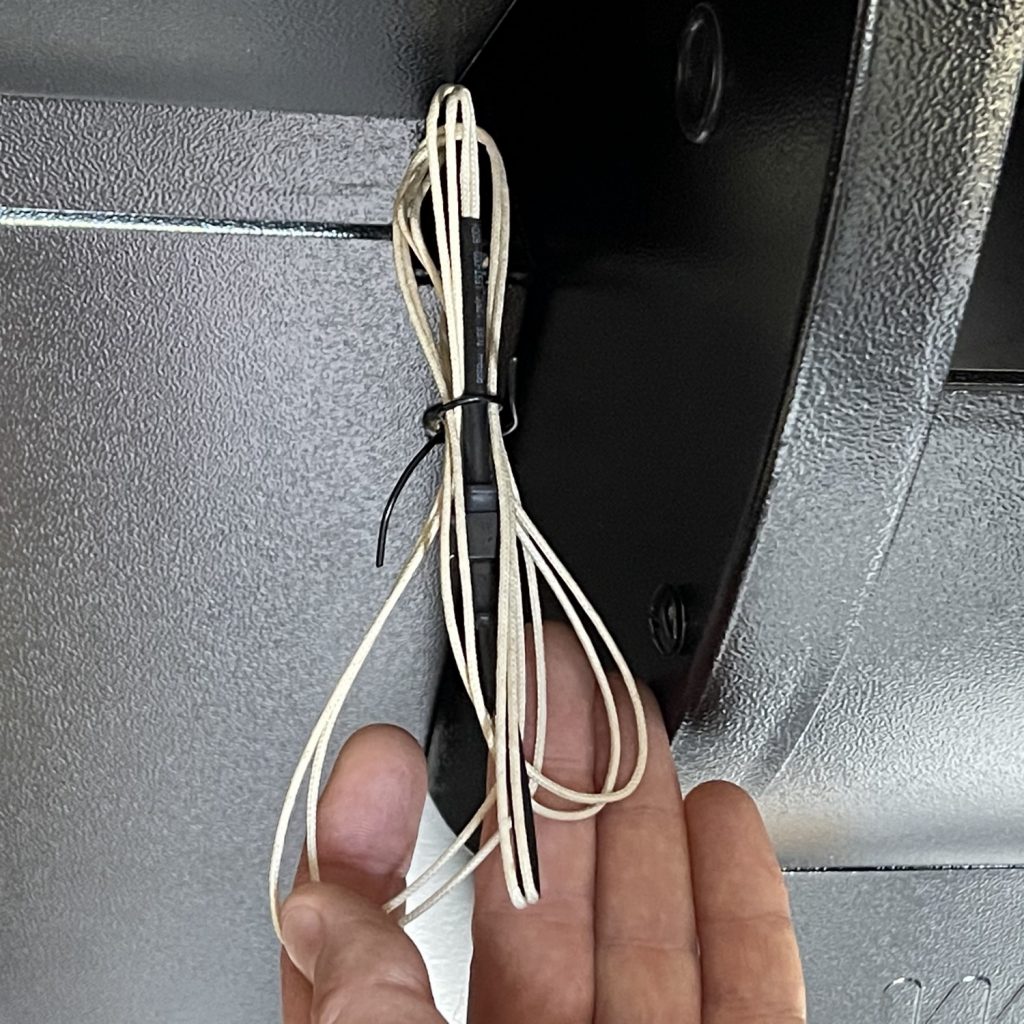
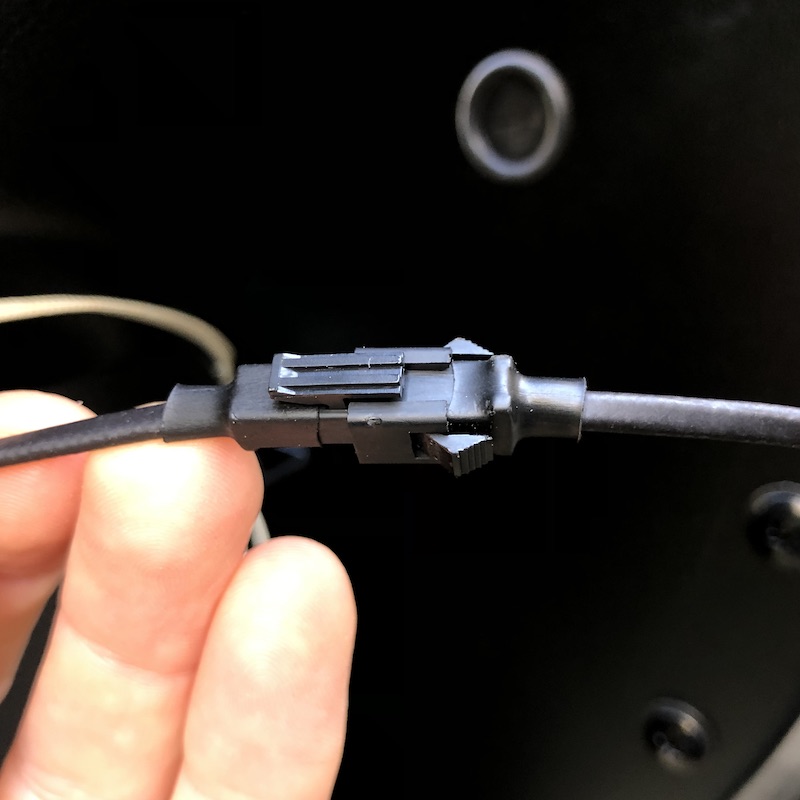
The plug is located in the cable tucked down between the hopper and grill drum.

The other end of the sensor cable it connected into a small green or blue terminal block on the controller circuit board. Unless there is damage to the controller side of the cable, the controller does not need to be accessed during the temperature sensor replacement process.
Emergency Temp Sensor Repair
The follow process can be used for basic PID controllers without the wireless controller.
Temperature sensors are fairly straight forward to replace (see instructions further down), but if you need to use your grill NOW and can’t wait a few days for a replacement to arrive there is a hack you can do.
The food probes that plug into the front of the controller on the Z Grills smoker are the same type of temperature sensor (PT1000 RTD) as the temperature sensor in the grill. You can therefore splice the food probe cables into the temperature sensor cable. There is no polarity (positive/negative) on the wires so it doesn’t matter how you connect them.
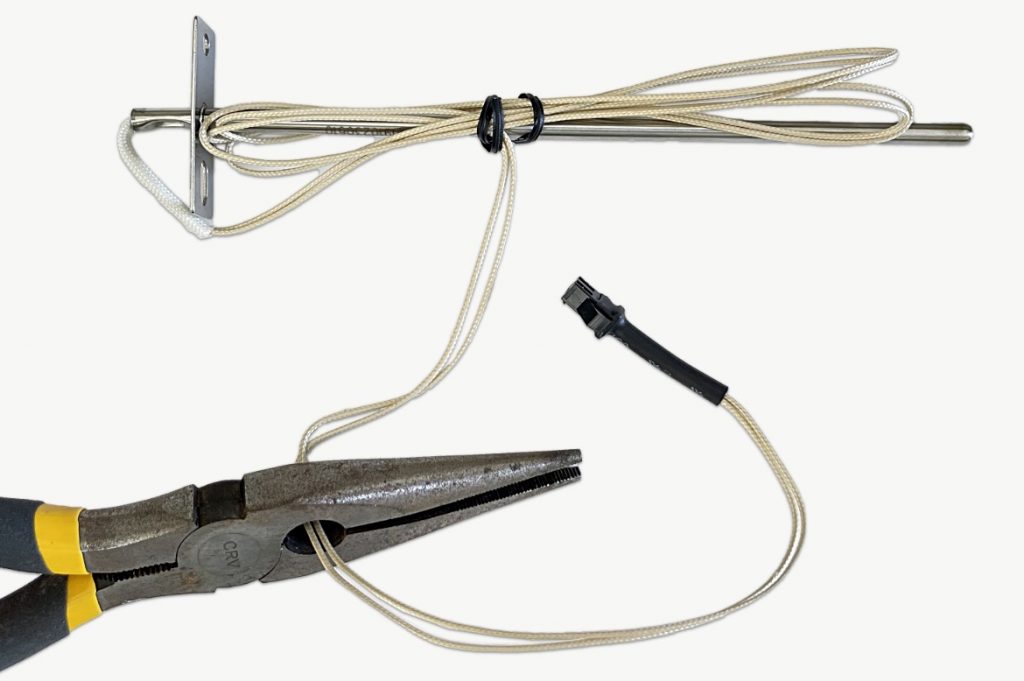
Cut the end off the grill side temperature sensor. You need to bare the wires, so don’t cut too close to the plug.
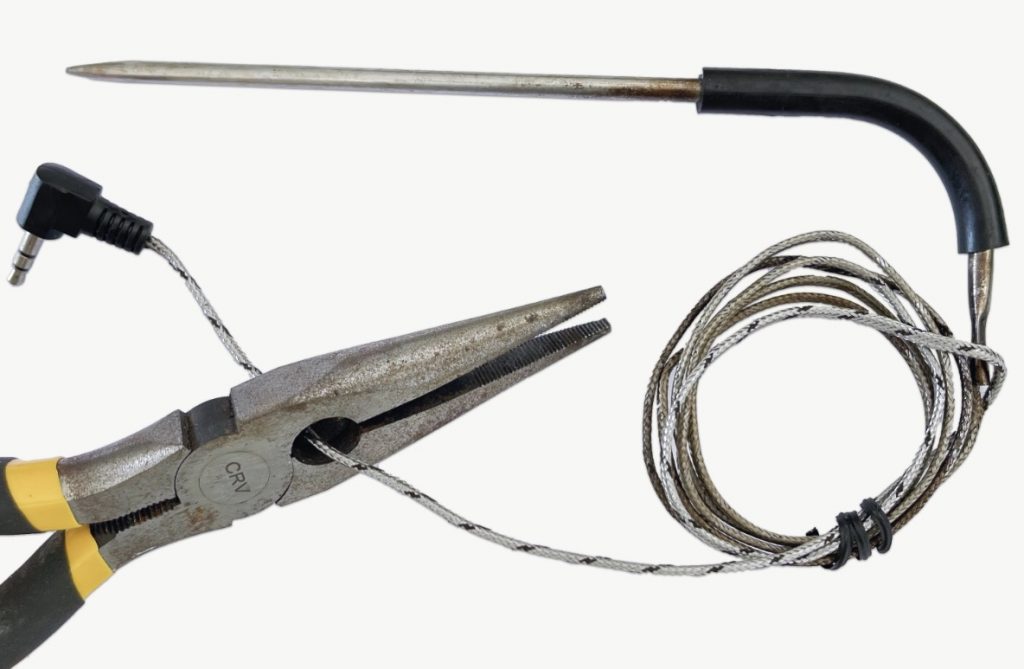
Cut the end off the food probe close to the plug.
Bare the wires of both cables so you have silver metal visible, twist together and insulate each connection with electrical tape. Plug the temperature sensor cable back in.
Position the food probe tip to tip with the food probe, or rest the food probe up on the top rack far left. The Z Grills controller will now get a temperature reading from the food probe and you should be able to start and run the grill like normal.
This solution can be used long term if you don’t want to get a new temperature probe.
If less than 3 years old contact our support team to get a replacement food probe and temperature sensor sent out for free (let us know you need both). If more than 3 years, click here to visit our shop to purchase these parts.
Replacement Instructions
Check out the video below and the step by step instructions with photos on this page to understand how to replace a grill temperature sensor on a 700 series Z Grill.
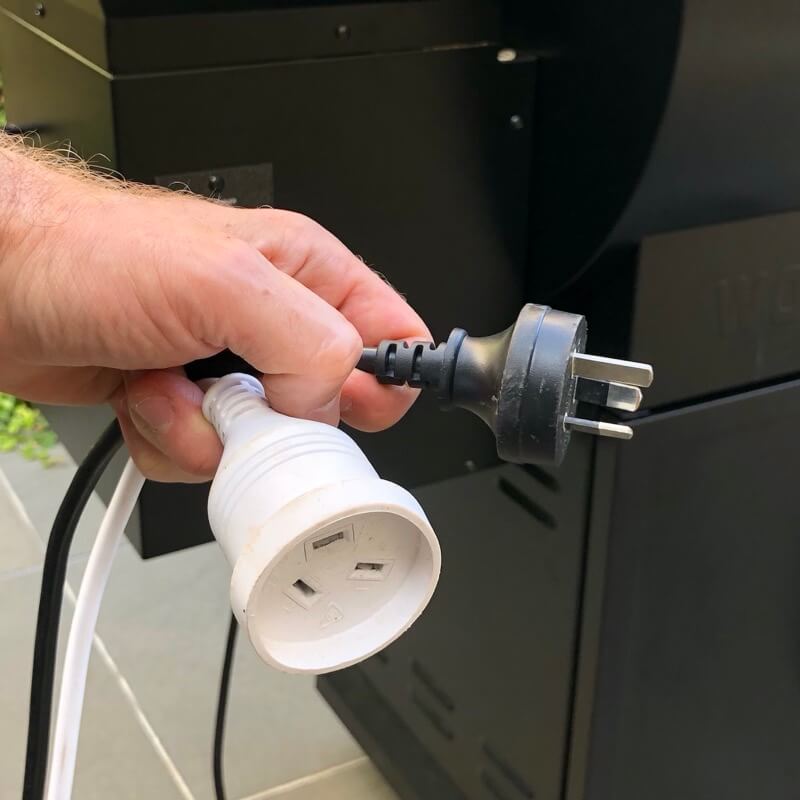
Step 1. Unplug the Power
Before doing any maintenance or cleaning, always unplug the power to the grill.
Step 2. Empty the Grill
Remove the grill racks and grease tray to get clear access to the grill temperature sensor.
Step 3. Unplug cable
Pull out the temperature sensor cable that is tucked down between the hopper and grill drum.
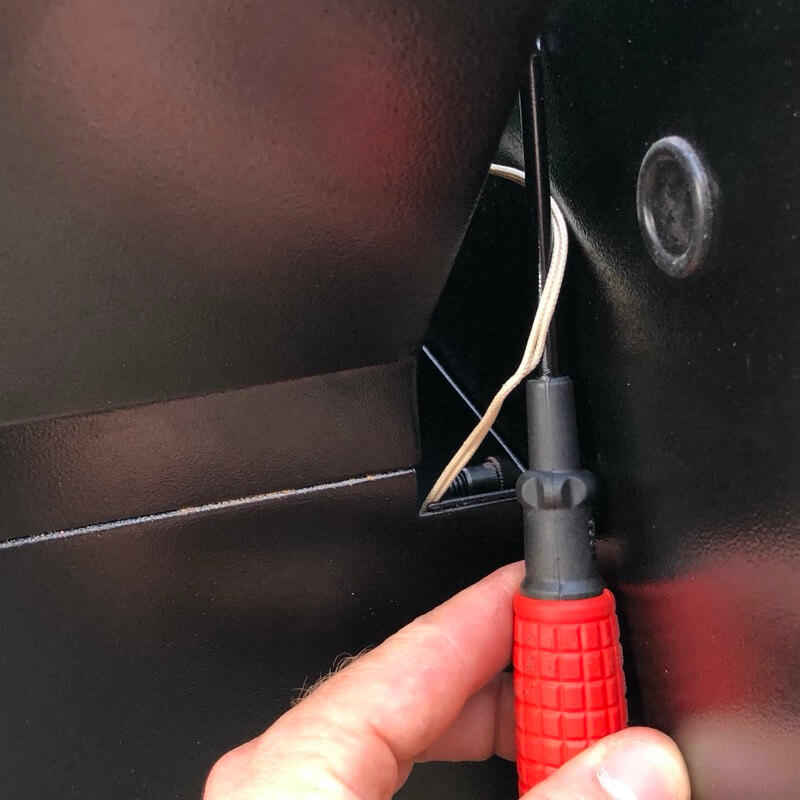
Press on the little lever and unplug the connector.
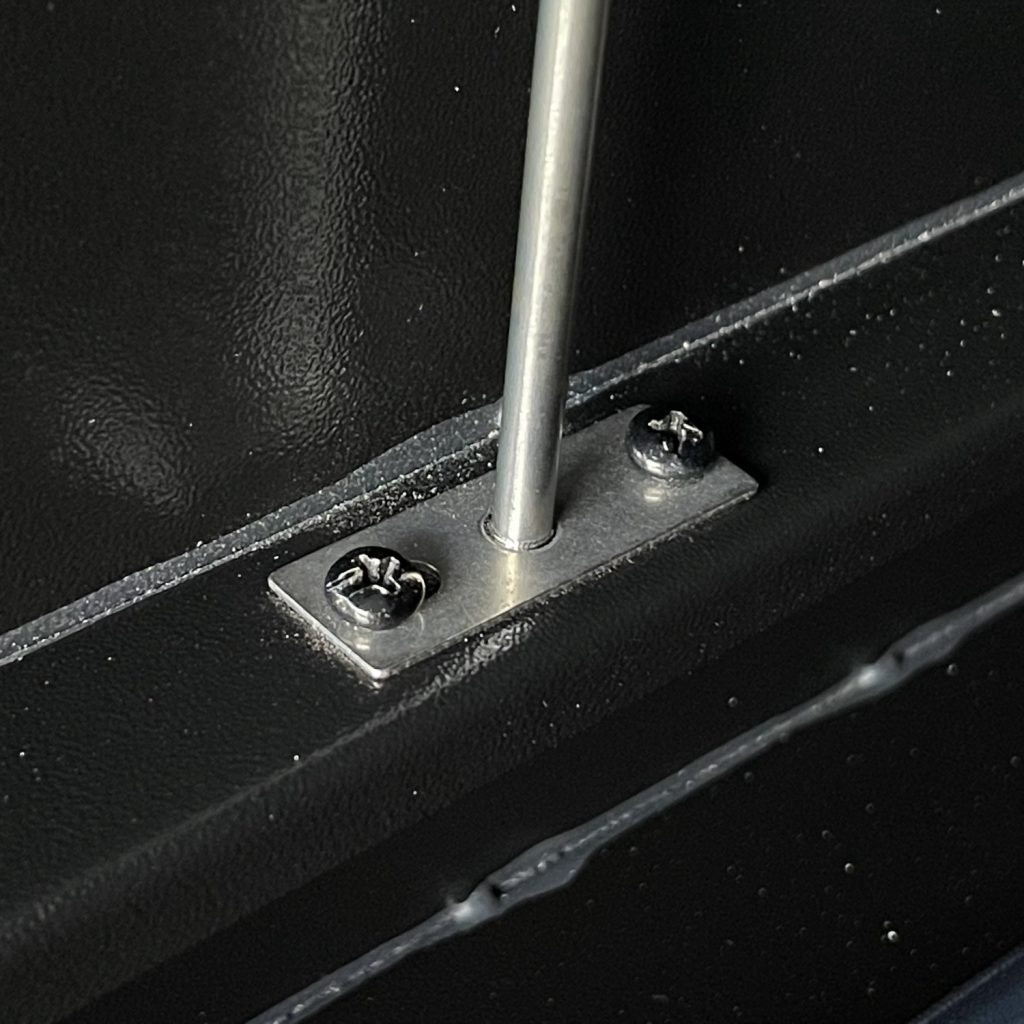
Step 4. Remove screws
Remove the two screws at the base of the temperature sensor.
Some grills have a nut underneath that you will have to hold with your fingers or a pair of pliers to fully remove the screw.
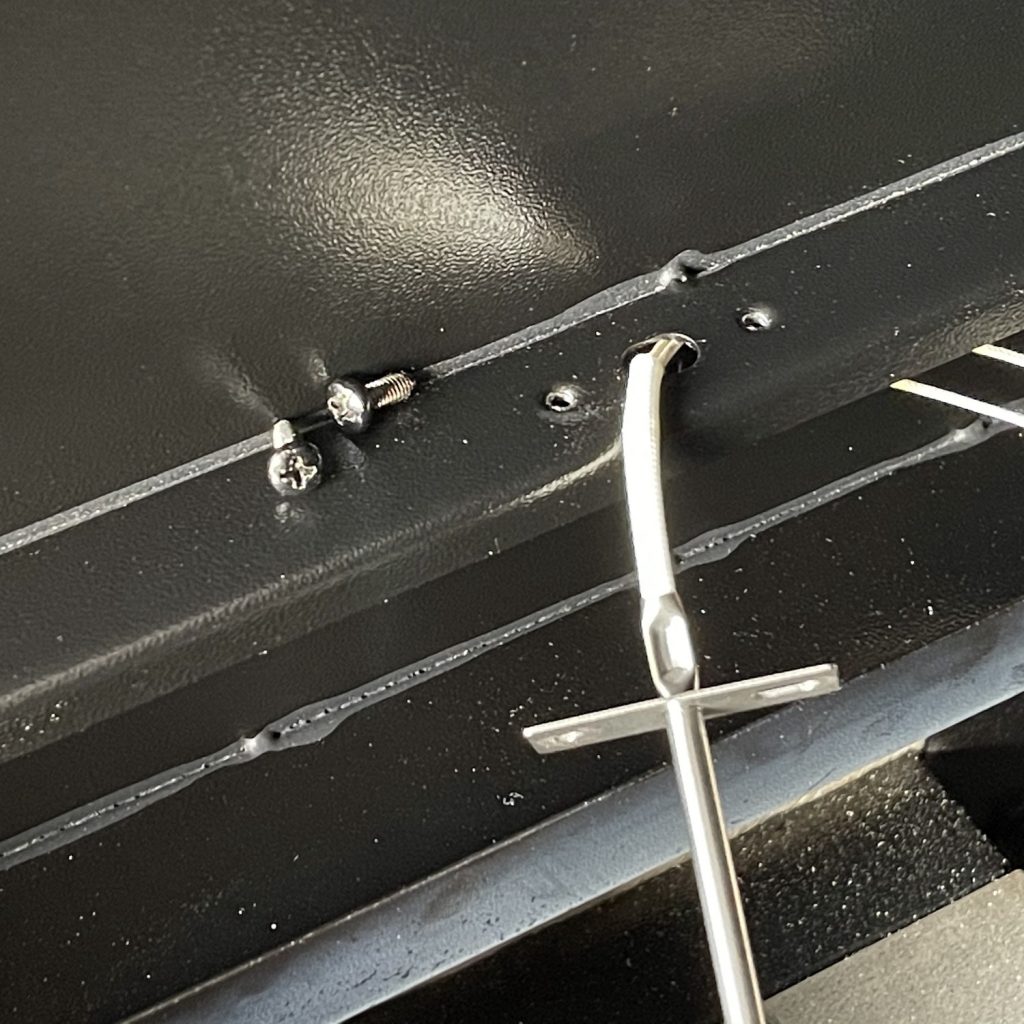
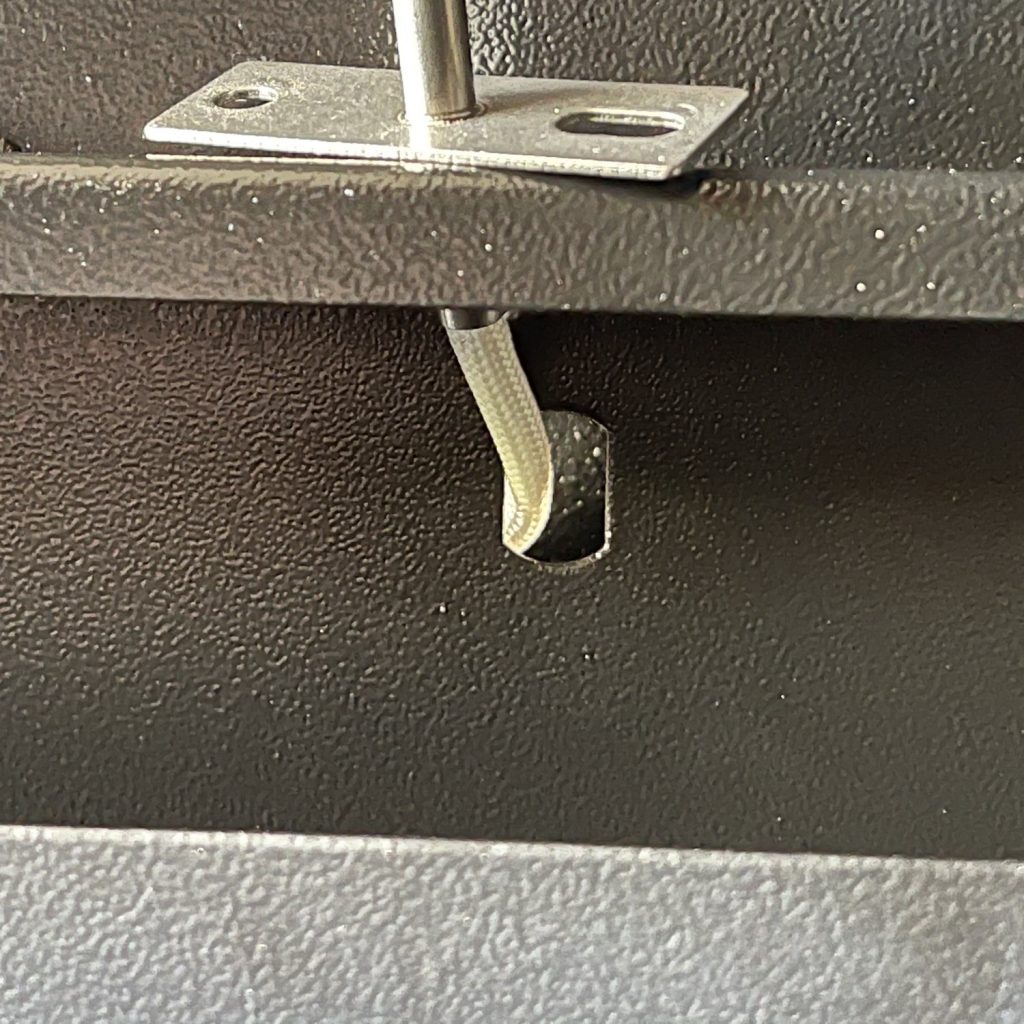
Step 5. Pull Cable Out
There is a small hole in the side of the drum that the cable passes through.
As you pull the cable through the plug end will often get stuck and need to be slightly rotated to pull through the hole.
Step 6. Install new sensor
Reverse the process to install the new temperature sensor.
Make sure you orientate the sensor the correct way so there is a clearance from the side of the drum.
Plug the cables back together, bundle up neatly and tuck down down between the hopper and grill drum.