This article covers how to install a Z Grills PID controller in a 450A or 700 series pellet smoker.
For Grill Models: 450A, 7002B, 700E, 700E-XL
Time: 20-30min
Difficulty: Medium
Spare Parts (from Z Grills):
- PID Controller
- Cable Ties
Tools Required:
- Pliers or small socket set
- Phillips head screwdriver
- Scissors or knife
Any questions about how to complete the process please contact us.
Remove Hopper
If replacing a Z Grills controller it is best to lift the hopper assembly off the grill and place on a table. This allows the bottom cover to be removed and all the cables easily accessed.
Review the information and videos on this page for step by step instructions. Also review the wiring configuration and clean up information below.
Wiring Connections
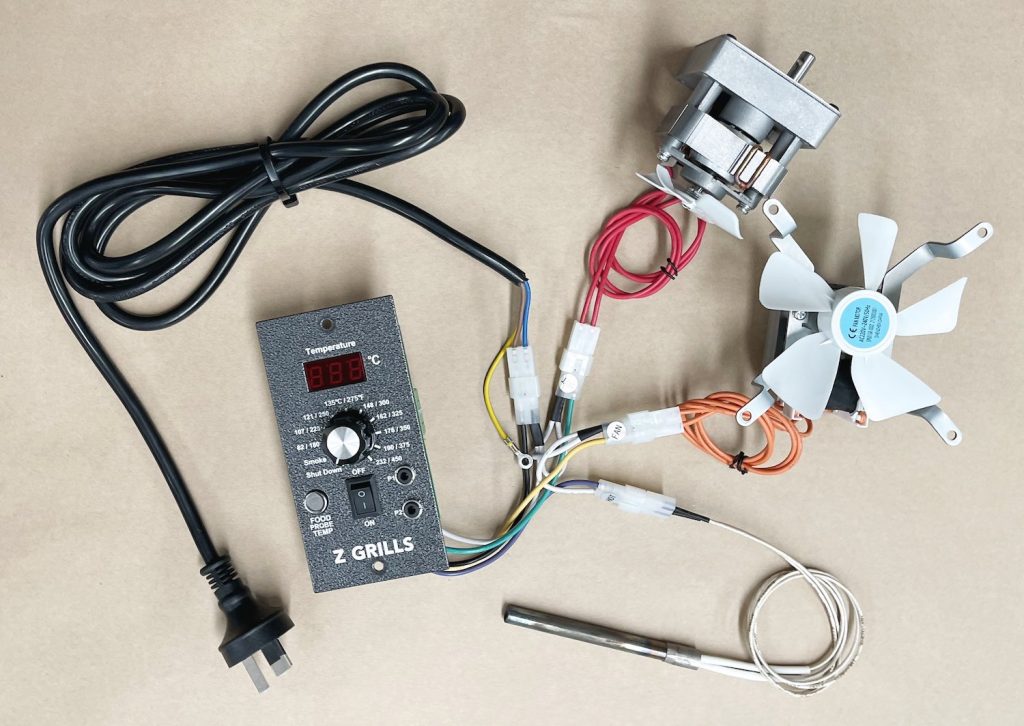
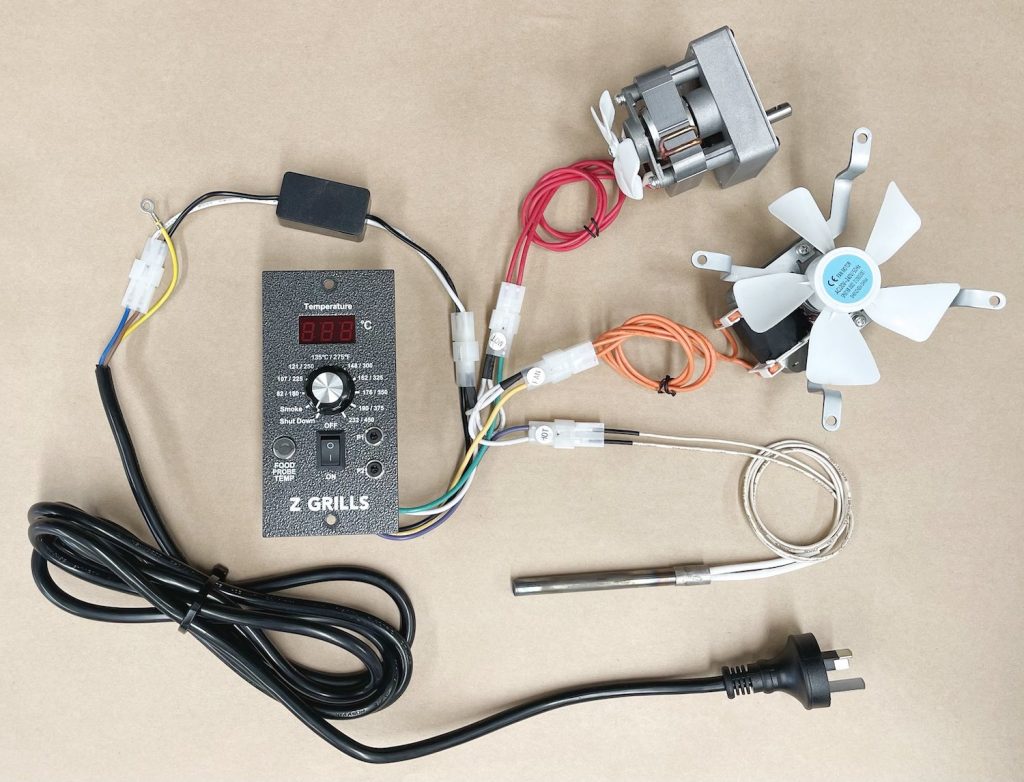
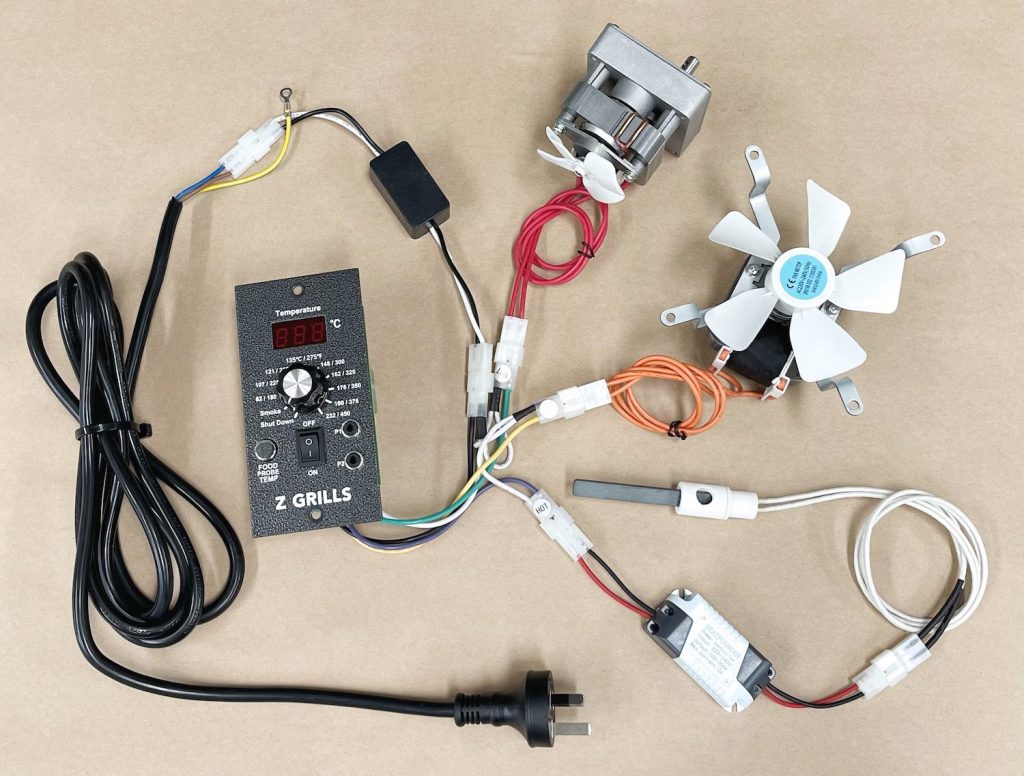
Depending on the grill model, the wiring colour and configuration may differ slightly. Refer to the images below to see the configuration that matches your grill.
The controller 3 output plugs are labeled MOT (auger motor), FAN (big fan) and HOT (ignition rod). The wiring colour may be different.


Any questions about how to complete the process please contact us.
Review the videos below for more information.
Final Cable Cleanup
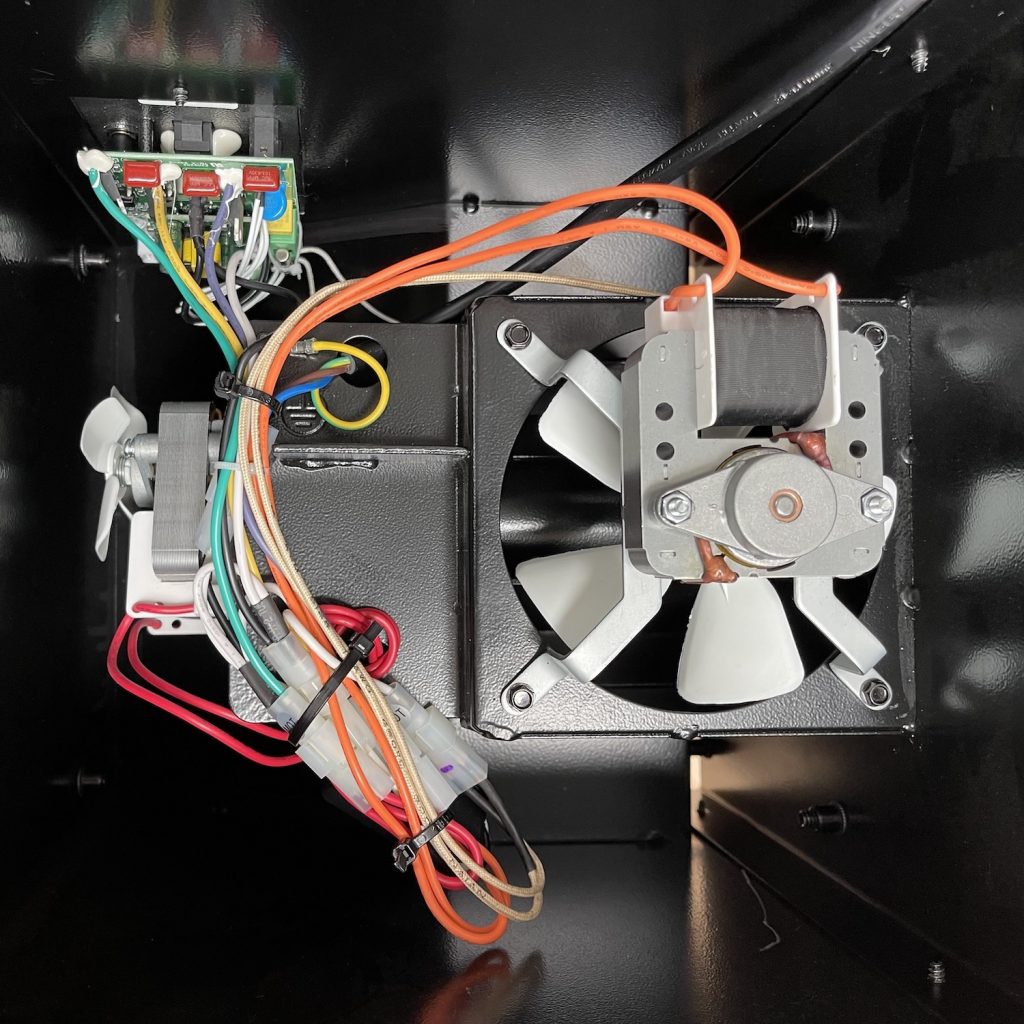
The photo below shows the best way to clean up the cables and is an improvement over that outlined in the videos.
Using the hole(s) in the black metal plate to anchor the bundle of wires with a cable tie is recommended.
Ensure the cables are secured kept away from the auger motor little cooling fan or main large fire-pot fan.

Z Grills 700 Series Grill
Z Grills 450A Series Grill
The video below covers both the controller and ignition rod replacement. If just replacing the controller, jump to the 4 minute mark that shows how to access it through the bottom cover.
