In the case of a difficult to repair, or hard to diagnose issue with a Z Grills 450A pellet smoker a complete hopper assembly may be provided.
Follow the step by step instructions below to change over the existing hopper assembly with new one.
For Grill Models: 450A
Time: 10-15 minutes
Difficulty: Easy
Spare Parts (from Z Grills):
- 450A Hopper Assembly
- Temperature sensor (if required)
Tools Required:
- Phillips head screwdriver
- Spanner or socket set
- Scissors, knife or wire snips
Step 1. Unplug from power
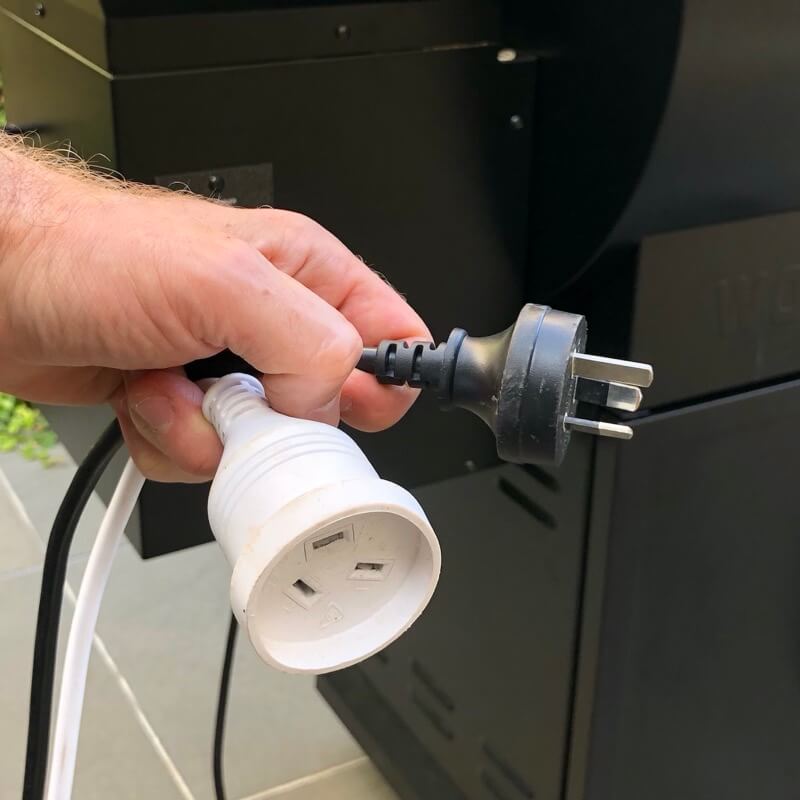
Unplug the grill from power.
Step 2. Loosen bolts
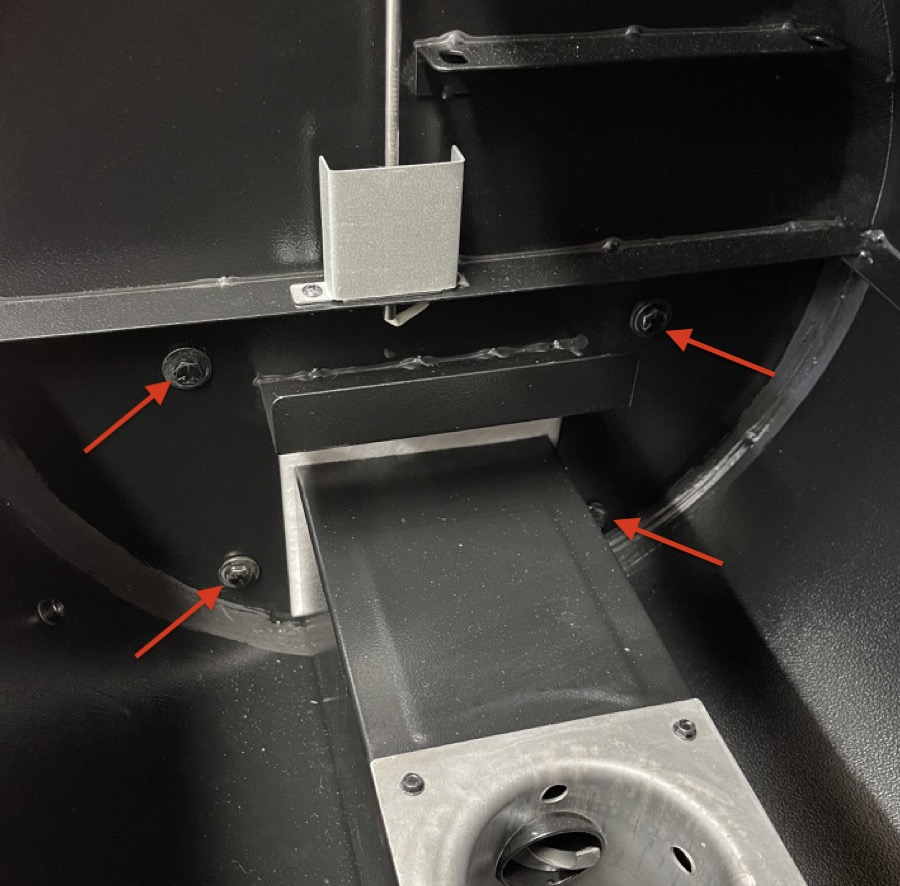
Loosen the 4 bolts that secure the hopper assembly to the drum.
These bolts may be quite tight, so a full size ring spanner, open end spanner or socket wrench may be required instead of using the small spanner supplied with the grill.
Support the hopper while completely removing the bolts.
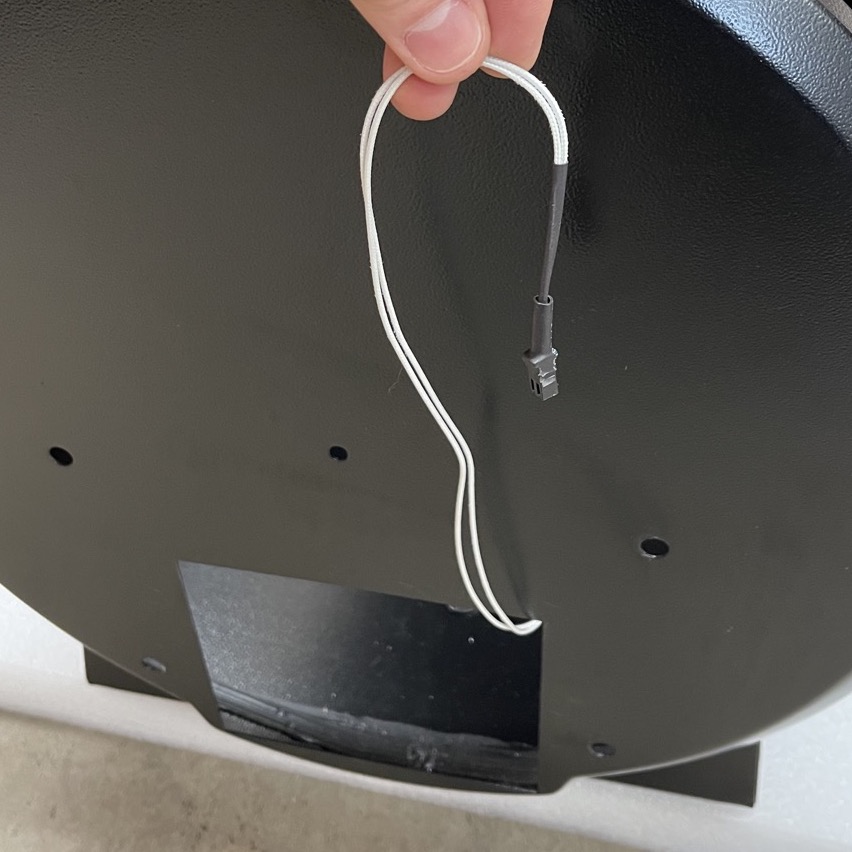
Step 3. Check temperature cable
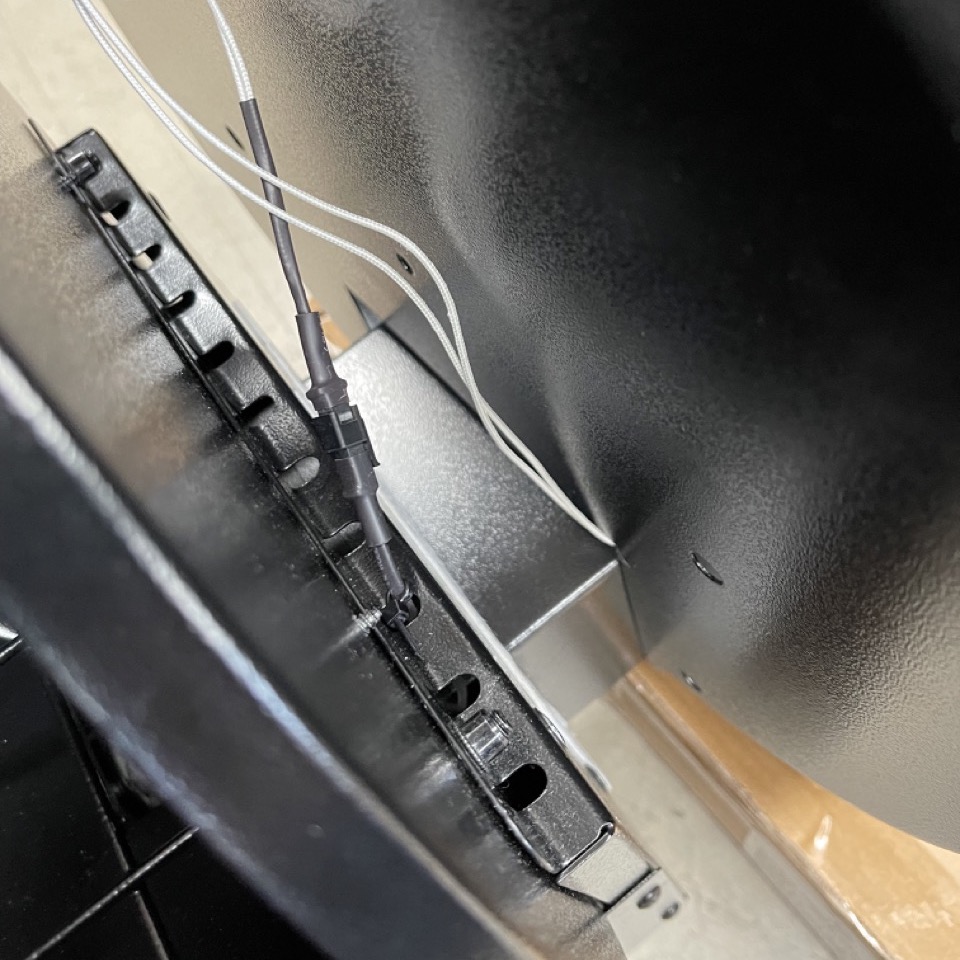
Check the temperature cable that sits between the hopper and drum.
If a black plug is visible then there is no need to replace the temperature sensor. Unplug the cable and jump to step 6.
If there is no plug, then the temperature sensor cable will need to be cut and the temperature sensor replaced with one that has a plug in the centre (as shown above). If this is the case a temperature sensor should have been provided by the Z Grills team.
If there isn’t a black plug, cut the cable anywhere between the drum and hopper, slide the hopper assembly out and then proceed to the next step to replace the temperature sensor.
Step 4. Remove old temperature sensor
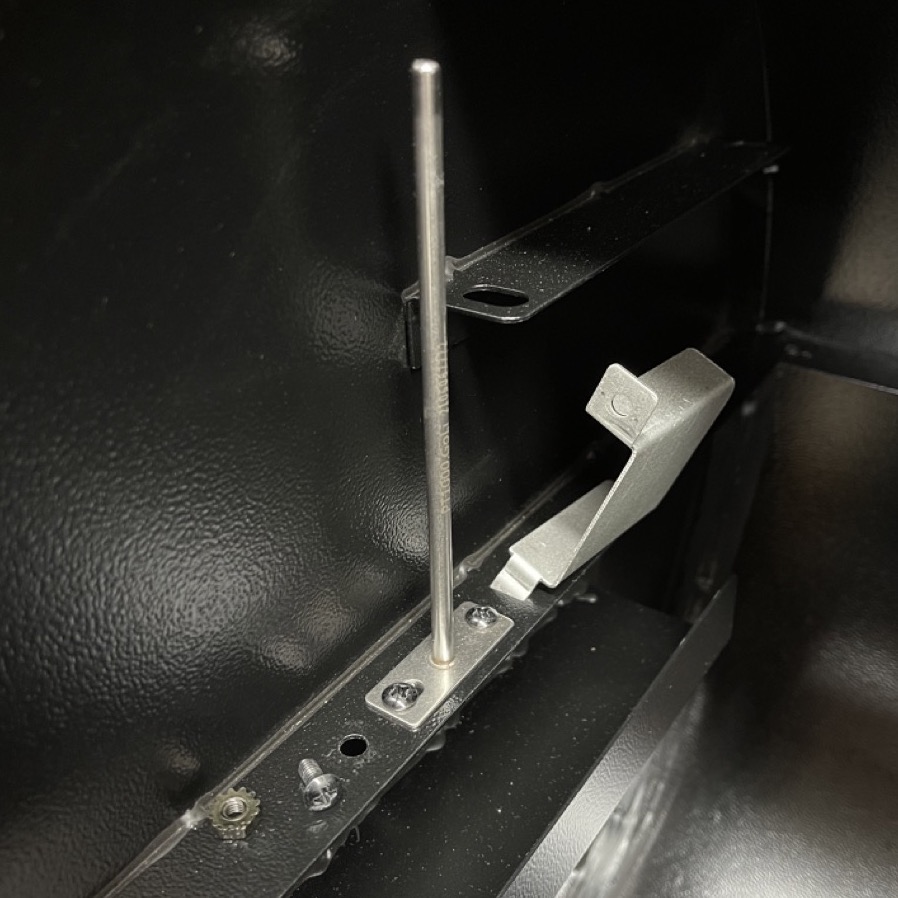
Remove the screw holding the protective shroud in place and lift out of the way.
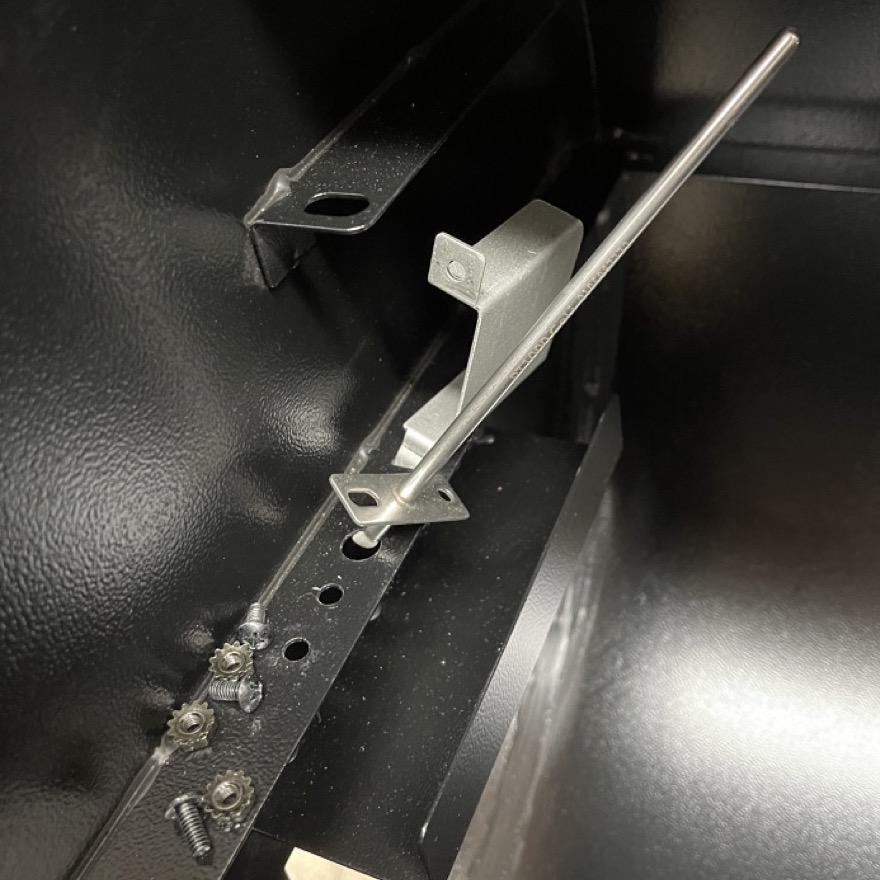
Remove the two screws that secure the temperature sensor in place and pull the sensor out.
Step 5. Install new temperature sensor

Install the new temperature sensor.
If the plug does not fit through the hole in the top plate, just cut off the two little wings on the side of the plug.
The plug may not fit through the hole in the drum that the old one passed through, so instead run the cable down through the square hole and run upwards. The cable will be sandwiched between the hopper and drum which is fine.
The newly supplied hopper assembly should have a female plug to connect the sensor to.
Step 6. Switch over hopper lid
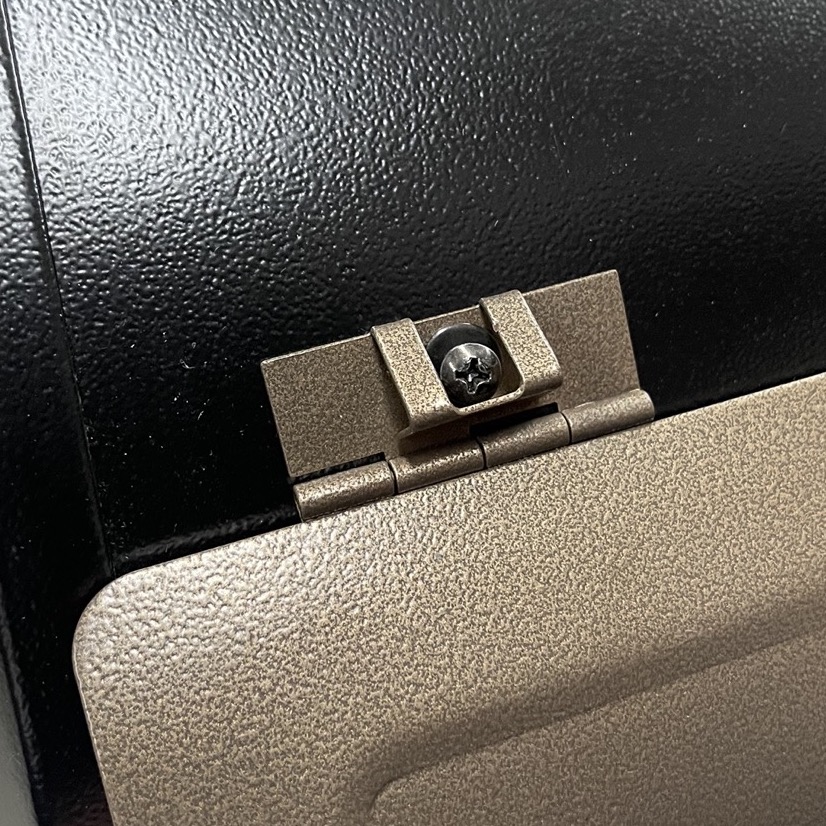
Remove the two screws attaching the hopper lid hinges to the hopper.
Attach the hopper lid onto the new hopper assembly.
Step 7. Replace hopper assembly
Slide the new hopper assembly into the drum.
Before doing up the bolts, neatly bundle up the sensor cable and put a twist tie around.
Do the bolts back up. Do not over-tighten.
Step 8. Quick burn-in
If the fire-pot is clean and oily it has never been used, so let the fire burn (any temp setting is ok) for at least 10-15minutes before placing food in the grill.
A full high temperature burn-in is not required.
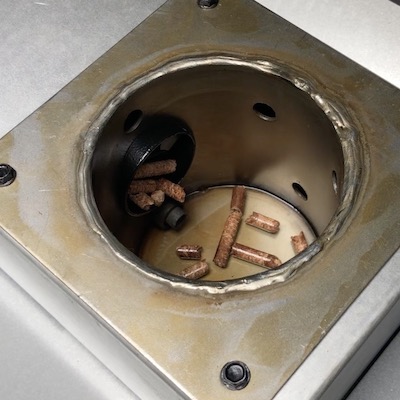
If the fire-pot has a light layer of rust (normal after a couple of uses), then no burn-in is required. Just start the grill and use a normal.