This article covers how to replace the ignition rod (hot rod) in a Z Grills 700 series pellet smoker.
For 450A grill models click here.
For Grill Models: 7002B, 700E, 700E-XL
Time: 20-30min
Difficulty: Medium
Tools Required: Pliers or small socket set, Phillips head screwdriver, Scissors or knife
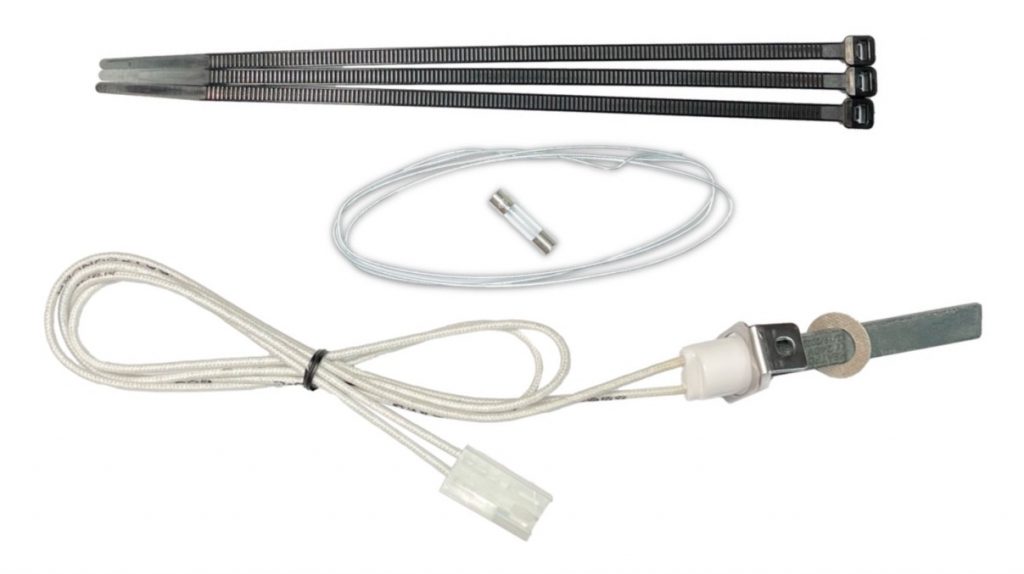
Spare Parts (from Z Grills): SN ignition rod, mounting bracket, fibre gasket, cable pull wire, cable ties, spare fuse, rubber tube
What is an ignition rod?
The ignition rod or “hot rod” is responsible for igniting the wood pellets in the fire-pot.
There are two types of ignition rods used in Z Grills pellets smokers in Australia.
Metal tube ignition rods are commonly used in wood pellet smokers, but Z Grills Australia switch to Silicon Nitride (SN) ignition rods in 2021 which heat up much faster.

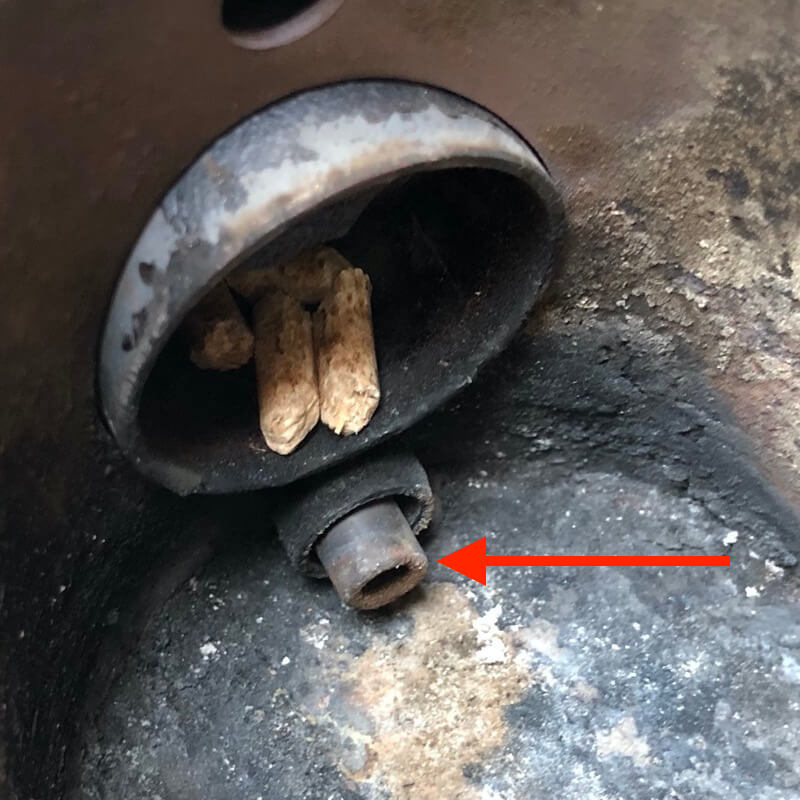
The ignition rod sits in the tube at the base of the fire-pot. Metal tube ignition rods need to extend out about 1cm as they need to physically touch wood pellets to ignite them.
Silicon nitride (SN) ignition rods get much hotter and get red hot right to the tip, so do not need to extend far out into the fire-pot like the metal tube type.
Repair Instructions
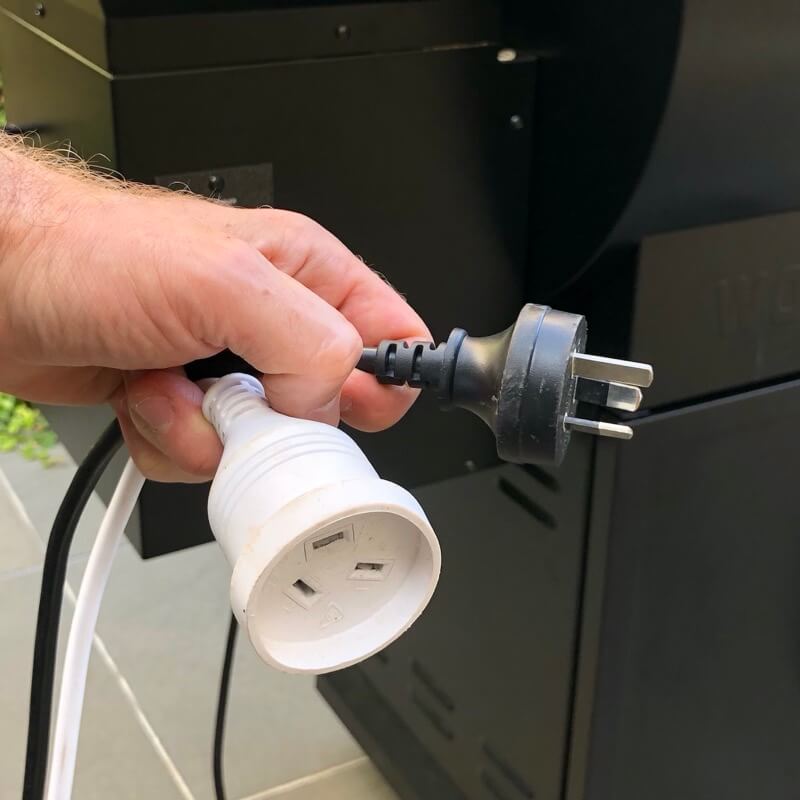
Step 1. Unplug the Power
Before doing any maintenance or cleaning, always unplug the power to the grill.
If the grill has the wireless controller with WIFI antenna installed, it is a good idea to unscrew the antenna while doing the repairs as it can easily be snapped off.

Step 2. Empty the hopper
Scoop as many pellets out as you can using a plastic scoop or cup.
Vacuum out the remaining pellets so you can see the auger entry int the bottom.
To make cleaning out all the wood pellets easier, you may want to temporarily remove the guard plate.
4 screws are located just under the front and rear lips of the guard.
Take care not to drop the screws down into the auger.

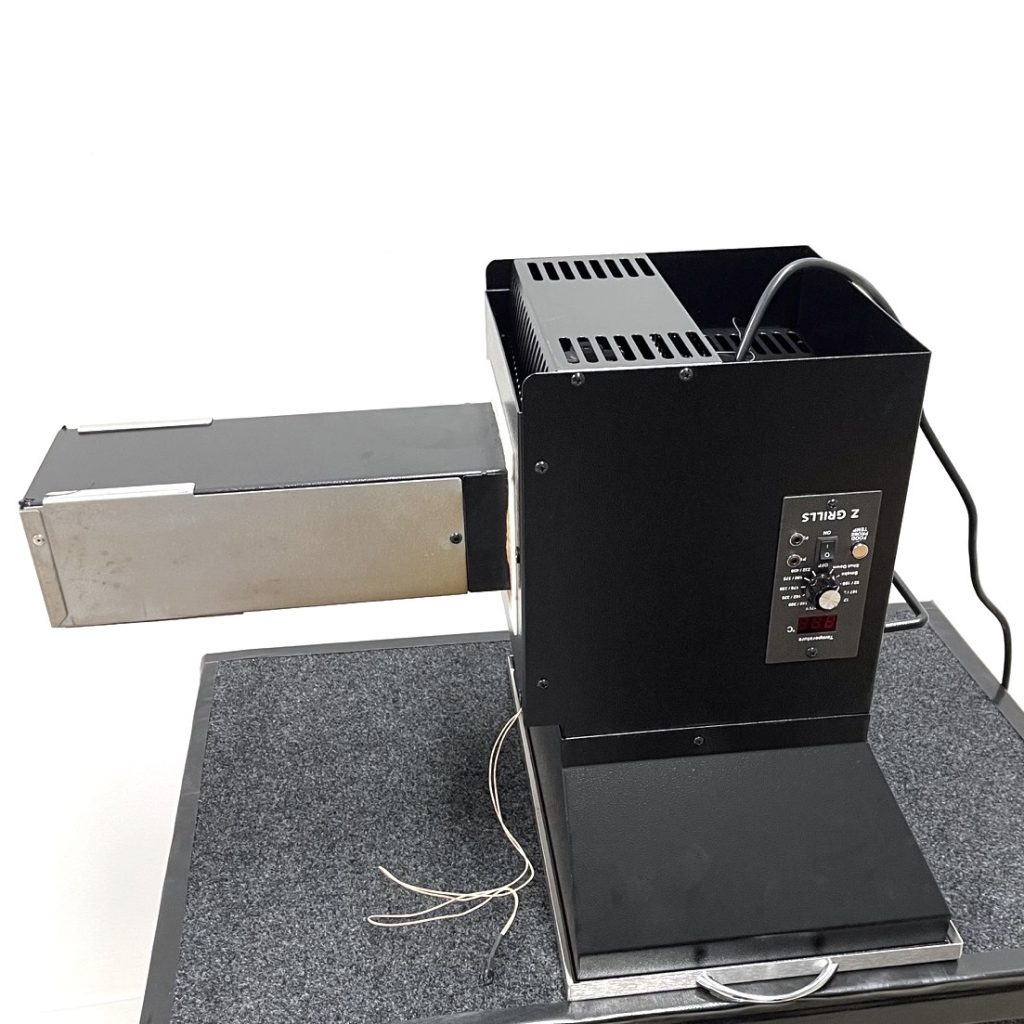
Step 3. Remove hopper from grill
While the repairs can be done with the hopper on the grill, it is much easier to do with the hopper on a table.
Undo the 4 bolts inside the grill. These were done up during the original assembly.
Unplug the temperature sensor between the hopper and grill and slide the hopper out.
Remove the hopper and place up-side-down on a table. The top section of the hopper with the lid can also be removed, which makes the process even easier.
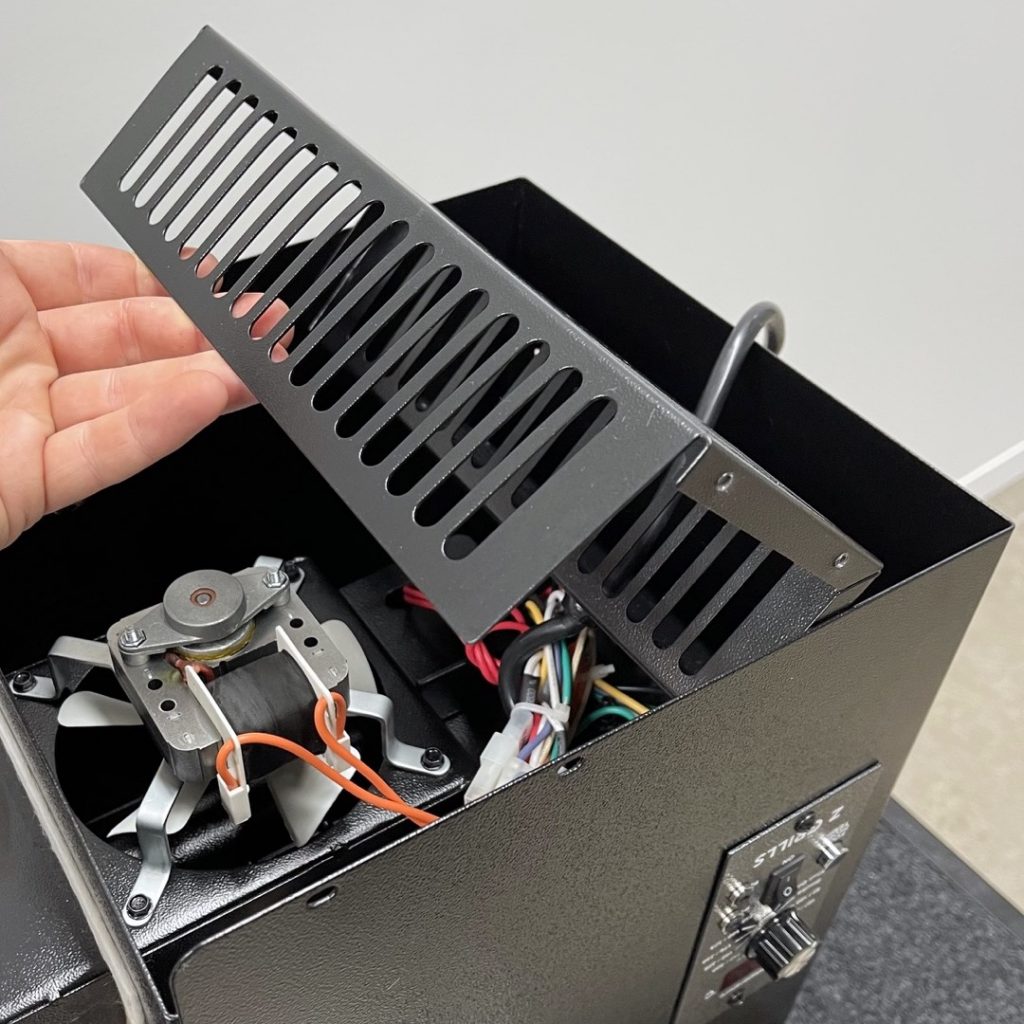
Step 4. Remove bottom cover
Remove the two screws on the front, rear and side (total of 6 screws) to remove the cover.

Depending on the slack in the power cable the cover can be pushed to the side of lifted out of the way.
If the cable doesn’t have enough slack, use a pair of pliers to squash the cable gland tightly and wobble it out, freeing up the cable to pull through the cover.
The gland can be replaced at the end of the repairs.
Step 5. Release ignition rod cable
Carefully cut some of the cable ties to free up the thick white ignition rod cable.
The ignition rod cable runs from down beside the fan out of the side of the box.

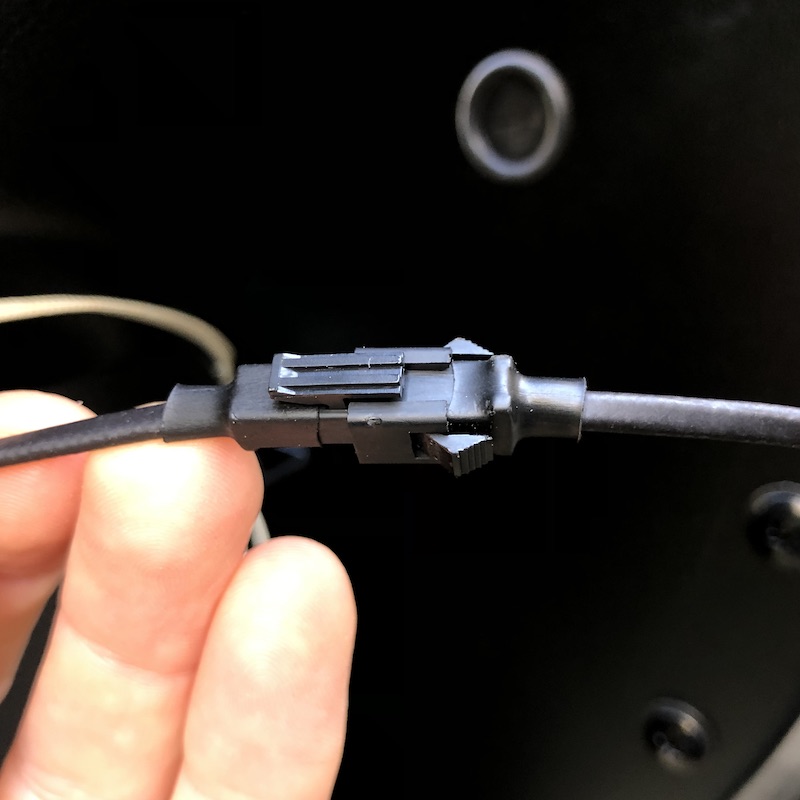
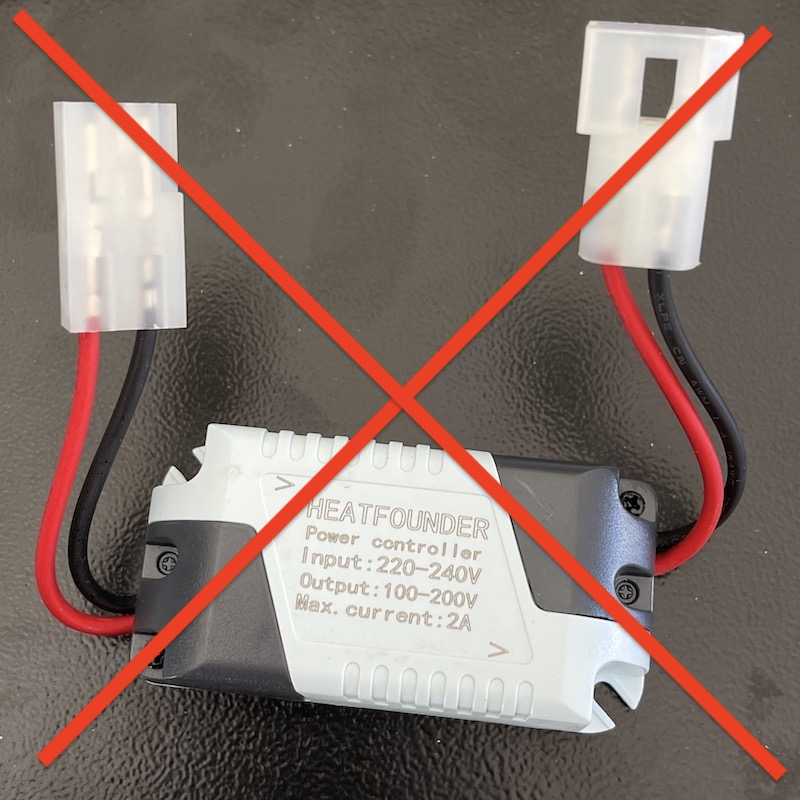
Unplug the HOT plug.

If there is a grey/blue box plugged in between the ignition rod and HOT plug it can be removed and thrown away.
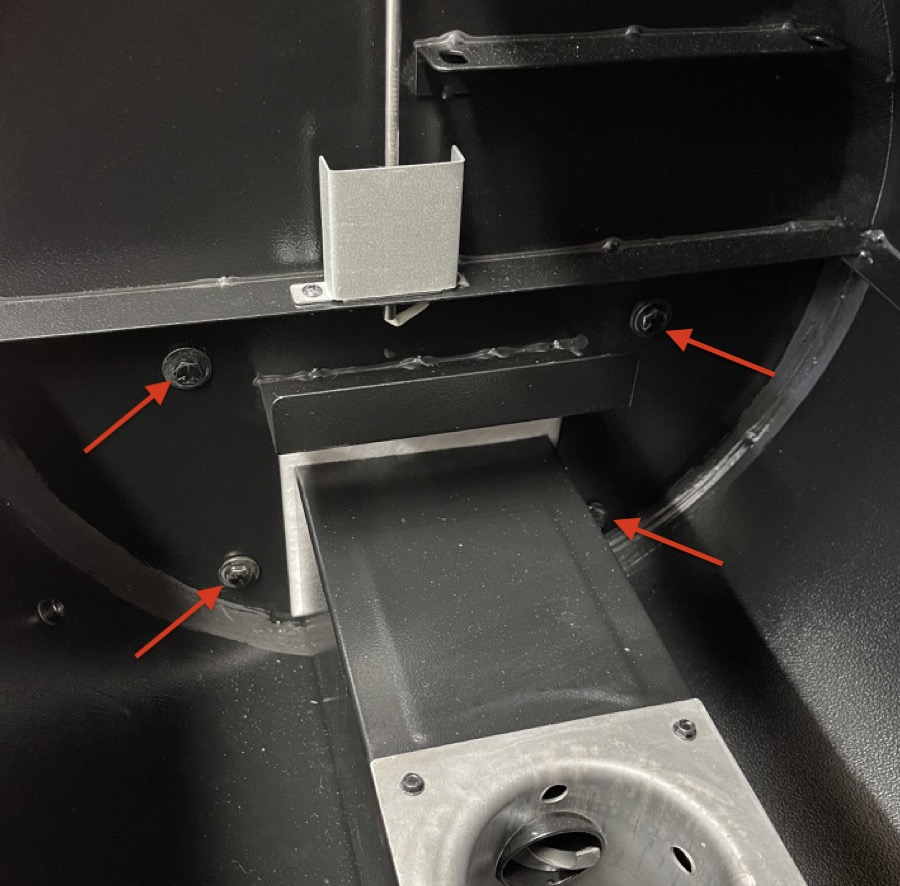
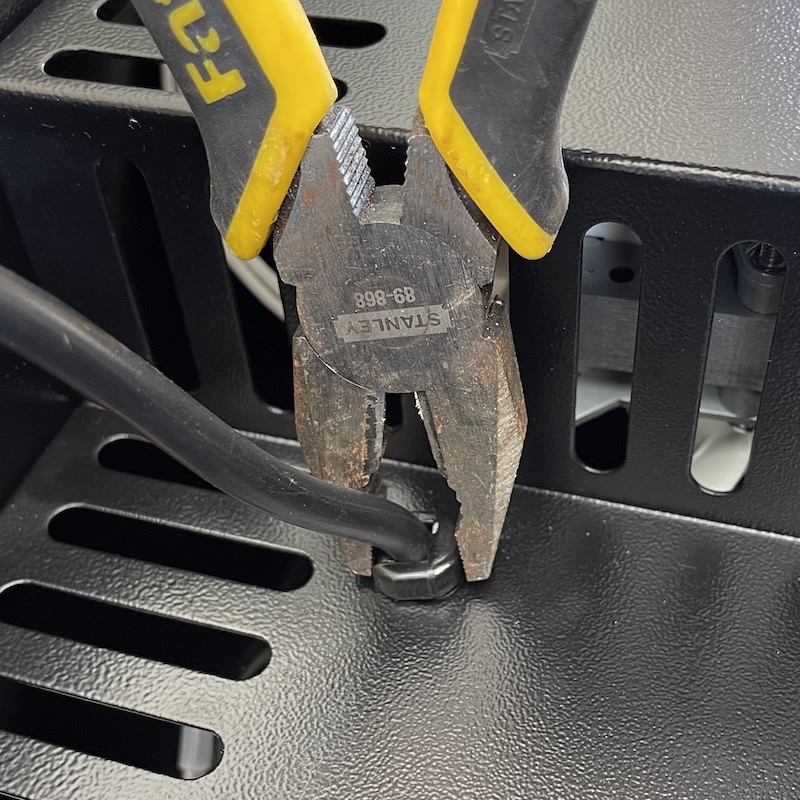
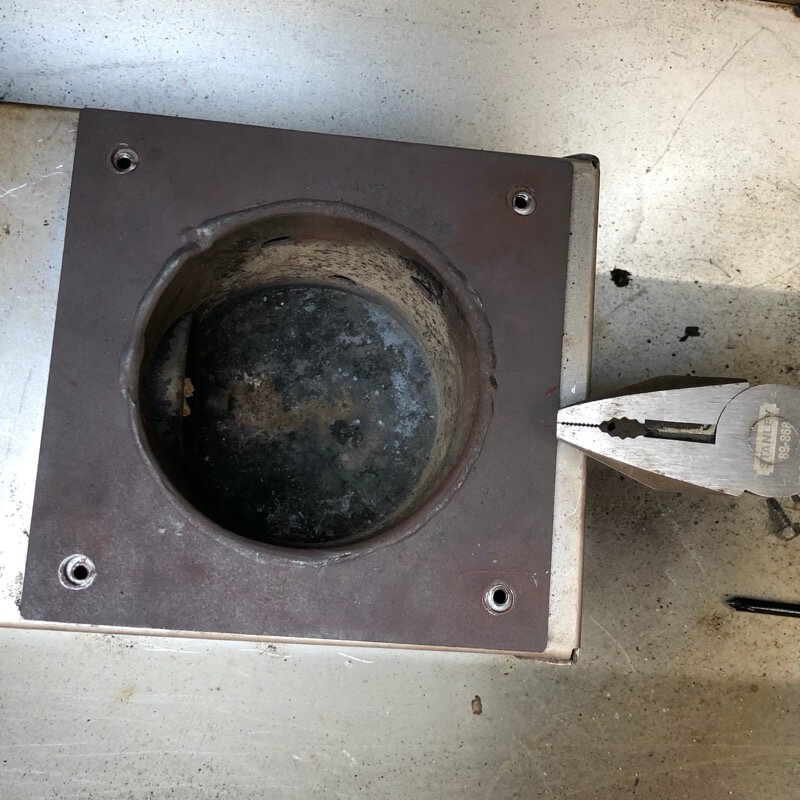
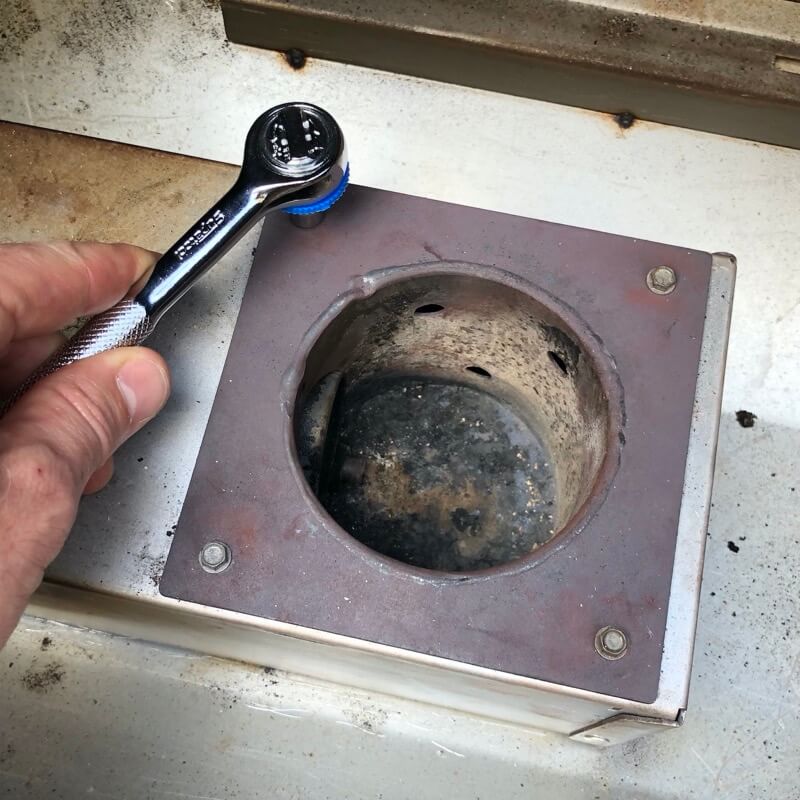
Step 6. Remove fire-pot & ignition rod
Use a spanner, socket or flat nose pliers to undo the 4 screws holding the fire-pot in place.
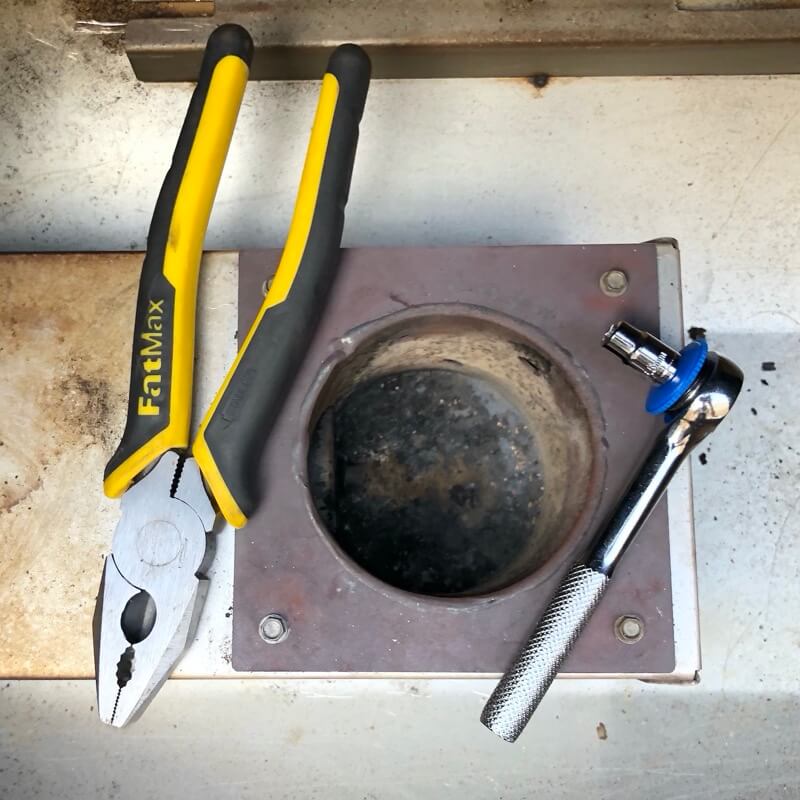
Push the fire-pot to the right and gently lift out at an angle.
If a fibre-glass gasket is beneath the fire-pot it can be removed and vacuumed up (as it will break apart). The grill will operate fine without this in place.
Undo the screw and remove the old ignition rod.

Guide the plug down through the hold in the side of the box and pull the ignition rod cable out.

Step 7. Install new ignition rod
Place the metal bracket on the cable and the washer on the ignition rod as shown in the image.
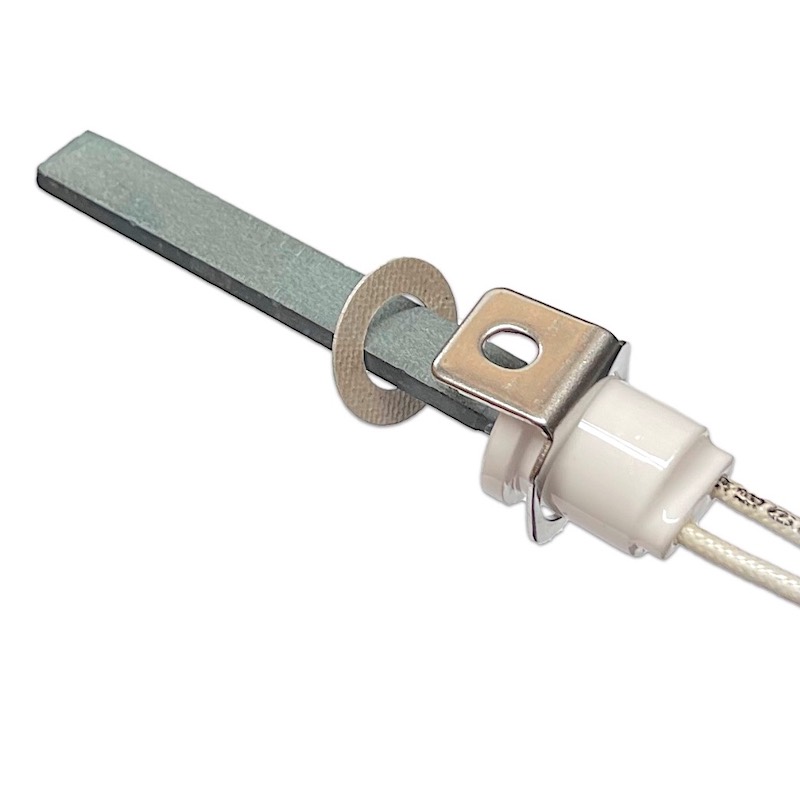
Insert the ignition rod, pushing gently into place, through into the rubber tube.
The ignition rod should be vertically oriented.
Do up the black supplied screw. There is no need to over-tighten it.

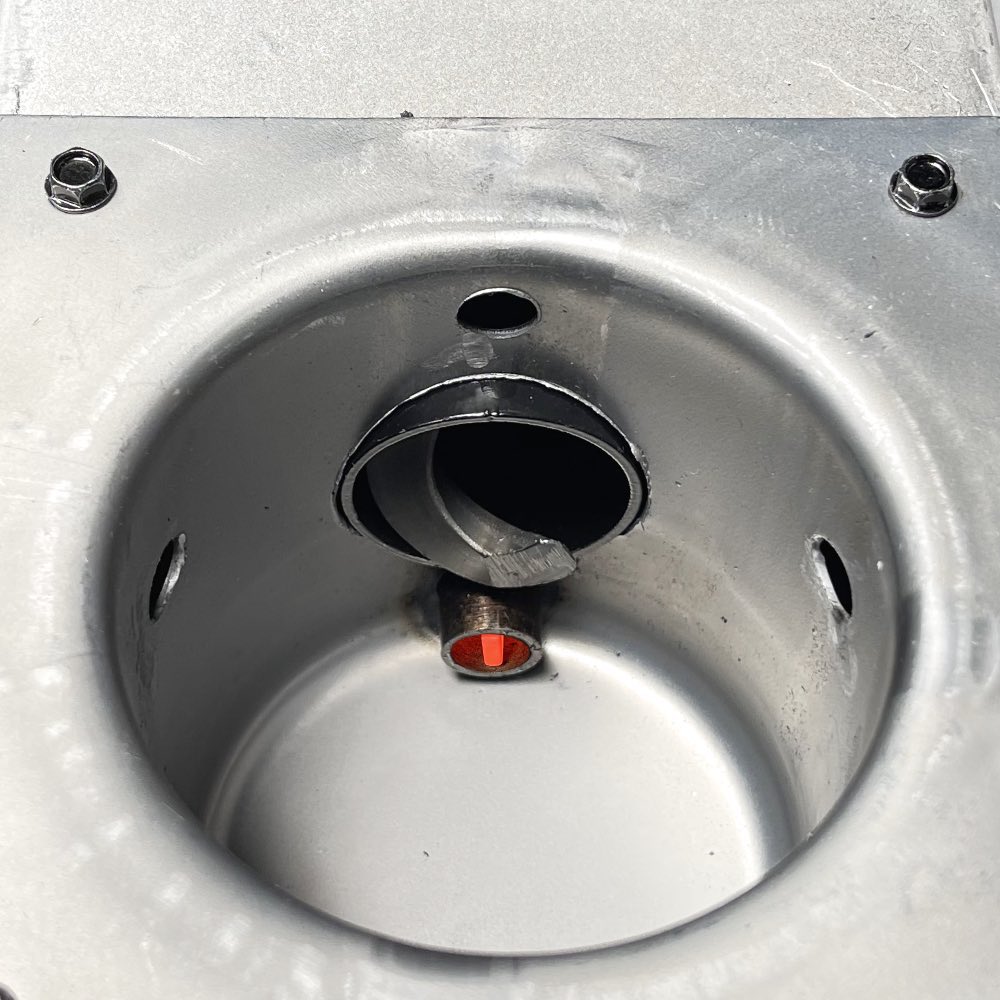
The ignition rod should be fairly central as shown in the image.

Make a loop in the end of the supplied metal wire so it won’t pull through the cable hole.
Pass the wire though the hole and out where the fire-pot sits.
This will be used to pull the new cable through.

Bend the other end of the wire around the plug.

Wrap some tape around to temporarily hold in place.

Pull the wire to bring the plug up through the hole. The plug will need to be wiggled around a bit to pass through the hole.
Remove the tape and wire and pull up some of the slack in the ignition rod cable.

Place the fire-pot back into the hole. It needs to be tilted to the side to guide the ignition rod down below the pellet feed tube.
As required, gently tap the fire-pot into place so the screw holes align.
Secure the fire-pot with the long screws. Do not over-tighten!
Step 8. Plug in cables and clean up
Pull up the remaining slack on the ignition rod cable.
Plug the new ignition rod directly into the HOT cable.
Use cable ties to neatly organise the cables as shown in the image.
Do not over-tighten the cables.
Make sure the cables are not close to the small fan on the front of the auger motor (below-left) and big main fan (on top-right).

Put the cover back in place and secure with the 6 screws.
If the cable gland was removed, it can be squashed onto the cable and pushed down into place.
Step 9. Test grill operation
If practical, place the hopper close enough to plug in the temperature sensor.
The grill can then be plugged into power and turned to Smoke (basic controller) or Fire Up (wireless controller) to confirm if the fan is blowing, auger rotating intermittently and ignition rod is getting hot.
Once confirmed as working, just unplug from power. No need to do normal shutdown.
If an rapid clicking sound is heard check to make sure none of the wires are touching the fan.
All the cables must be clear of the auger and main fan.
Slide the hopper back into the grill, ensure the temperature sensor cable is plugged back in.
Fire the grill back up as normal and confirm everything is working ok.